Why We Use Stages, Not Ages
When you have a child and you are trying to buy things for them — a craft book, a baking kit or an activity pad — the age on the front is the first thing you see. If your child isn’t working at that level, it can be the first thing they see, too.
As they get older our children become more aware. They can see that the age on the front is quite clearly not the age they actually are. And honestly? It’s heartbreaking, really — for you, as a parent.
That’s why Dinky Bakers is built around – Stages, Not Ages.
Where the idea came from
I’m talking from my own experience here. I am a parent and was a learning support assistant, and I’ve watched children — including my own — arrive at a shelf of activity books and come away with nothing.
There’s this quiet expectation that because they are ten, they should be able to do the ten-year-old activity book. But they all develop at different stages and in different ways. Not all four year olds will be able to do everything that apparently they are meant to be able to do.
Sometimes it works the other way too. You open the book and realise your child is more than capable and probably needs something a bit harder. But more often, if the age on the front doesn’t match, it starts to knock their confidence — and as a parent, you’re quietly trying to boost that confidence in a hundred other ways.
The quiet cost of age labels
Children who don’t fit the expected age-and-stage curve often already know they’re not where other people think they should be. They feel it in the classroom. They feel it when something gets picked up off the book shelf.
And then at home, if the activity book they open is too hard, it puts them off trying at all. If it’s too easy, it tells them the adult around them didn’t really see them either.
I wanted to give mine and other children their spark back. To prove to them and to their parents, that they are capable. They are amazing and they can learn. We just need to look at it differently.
The Three Dinky Bakers Stages, Explained
Instead of asking “How old is your child?”, Dinky Bakers asks: . “What are they ready to explore today?”
Explorer
- Using the five senses — touch, smell, look, taste, listen
- Washing veg, tearing herbs, stirring, pressing
- No pressure to produce anything
Helper
- Pouring, scooping, simple measuring, cracking eggs
- Whisking and rolling
- Following a visual recipe — pictures, not paragraphs
- Using a dinner knife to cut
Little Chef
- Measuring ingredients
- Child-safe knife, bridge & claw grips
- Start to read a written recipe
- Setting a timer and tidying as they go
Your child may move up and down the levels. That is not a problem. This is the benefit of Dinky Bakers, no pressure.
Why moving up and down is the point, not a problem
Your child may go up and down the Explorer, Helper, Little Chef levels. They might just stay in one area. It just depends on them. There is no pressure, it doesn’t matter.
One day you might want to do Explorer; the next day you might want to do Helper. You can move up and down as you feel you need to. This is meant to be fun. For both you and your child.
What this looks like in practice: one recipe, three stages
Here’s how the same simple recipe — granola fridge bars — can flex across all three Dinky Bakers stages. You don’t need a different recipe for each child, or for each day. You just change which parts they own.
🍫 Granola Fridge Bars
A simple, no-bake recipe that works beautifully across Explorer, Helper and Little Chef.
Ingredients
- 200g rolled oats
- 100g granola
- 4 tbsp honey or maple syrup
- 4 tbsp peanut butter or tahini (nut-free)
- Optional: raisins, cranberries, seeds, choc chips
Method
- Line tin with baking paper — child presses corners
- Measure oats & granola into a large bowl and stir
- Add honey and nut butter; stir until well combined
- Add mix-ins; let your child choose and tip them in
- Press mixture firmly into tin with the back of a spoon
- Refrigerate 2 hours until firm, lift out and cut into bars
| Stage | What your child owns |
|---|---|
| 🌱 Explorer | Smelling the honey. Touching the oats — rough or smooth? Choosing between two little bowls of add-ins. Poking the sticky mixture. |
| 🌟 Helper | Pouring the oats. Adding the honey or maple syrup. Mixing everything together. Following along on a visual recipe card. |
| 👨🍳 Little Chef | Measuring the oats and add-ins. Following a written recipe. Pressing the mixture firmly into the tray. Cutting the set bars with a child-safe knife. |
Same recipe, same kitchen, same afternoon — three very different amounts of independence, and three children could make it side by side without anyone feeling behind.
💡 A note to parents: you can start anywhere
It doesn’t matter how old your child is. You can start anywhere on the programme and move up and down. You’re not alone — there are a lot of us out here trying to make learning feel good again for children who don’t fit the box.
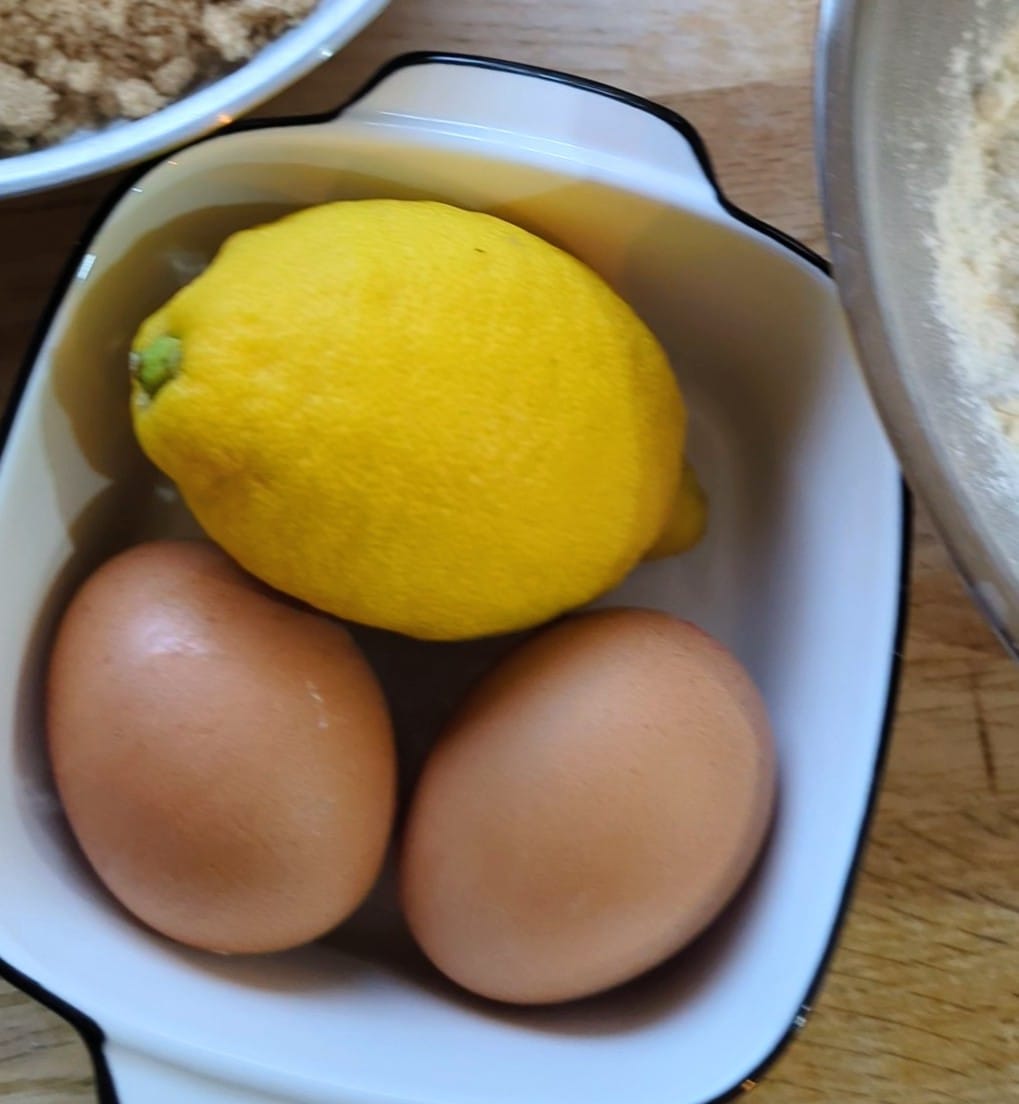
Some days they’ll surprise you by shooting ahead. Some days they’ll want to tear herbs and smell the lemon and call it a day. Both count. Both are cooking. Both are learning.