The Biscuit Experiment: An Easy Shortbread Recipe to Bake With Children (Taste Test Activity)
This is one of my favourite rainy-afternoon activities and honestly, one of the best things you can do with a simple shortbread recipe. Make one batch of dough, split it into two or three balls. Each child can then pick something different to add to their ball. And at the end, you have a proper Bake Off style taste test on your kitchen table.
I would say it will take about an hour. Using three simple ingredients for the base and then your choice for the mix ins. By the end, you will have done weighing, mixing, rolling, timing, predicting, tasting and negotiating — because it is likely to start a conversation about who’s biscuit is the best one.
This is the full deep-dive on the biscuit experiment. If you landed here from the Rainy Day Kitchen Adventures post — welcome. Grab a cuppa, have a read, and let’s get started.
Why this works so beautifully
Normal biscuit recipes are great. But they have one drawback on a rainy afternoon, everyone ends up making the same biscuit. Which is lovely, except when you’ve got siblings with strong opinions, or a child who doesn’t really care for the flavour you chose.
This recipe fixes all of that. By splitting the dough into smaller balls, each child gets ownership of their own batch. They choose the flavour. They watch it come out of the oven. They get to say, proudly, “this is the one I made”.
And then comes the really clever bit: the taste test. Once the biscuits are cooled, you line them all up on plates and everyone tries one of each. Which has the best flavour? Which has the best crunch? Which has the best shape? (The last one is usually hotly contested.)
It’s an experiment, a craft activity, a snack, and a discussion creator all rolled into one.
The base: simple shortbread
The reason this experiment works so well is because the base dough is simple. No eggs. No faff. Just three ingredients: flour, butter, and sugar. That’s it.
Shortbread is also beautifully forgiving. It can take the addition of cocoa, chocolate chips, dried fruit, spices or Smarties without falling apart. You can roll it, cut shapes out of it, or just squish little rounds by hand. There’s no “right” way.
Here’s the base recipe — this makes enough to split into two or three smaller flavours.
🍪 Experiment Shortbread Base
A simple three-ingredient dough designed to be split and flavoured however your children fancy.
Ingredients (base dough)
- 300g or 2cups, plain flour
- 200g butter, softened
- 100g or 1/2 cup, caster sugar
Method
- Preheat the oven to 160°C (fan) / 180°C (conventional).
- Mix the butter and sugar together until pale and fluffy. Great for gross motor.
- Add the flour. Mix until it just comes together, you can use your hands at this point.
- Divide the dough into 2 or 3 equal balls (one per child).
- Let each child knead their chosen flavour into their ball.
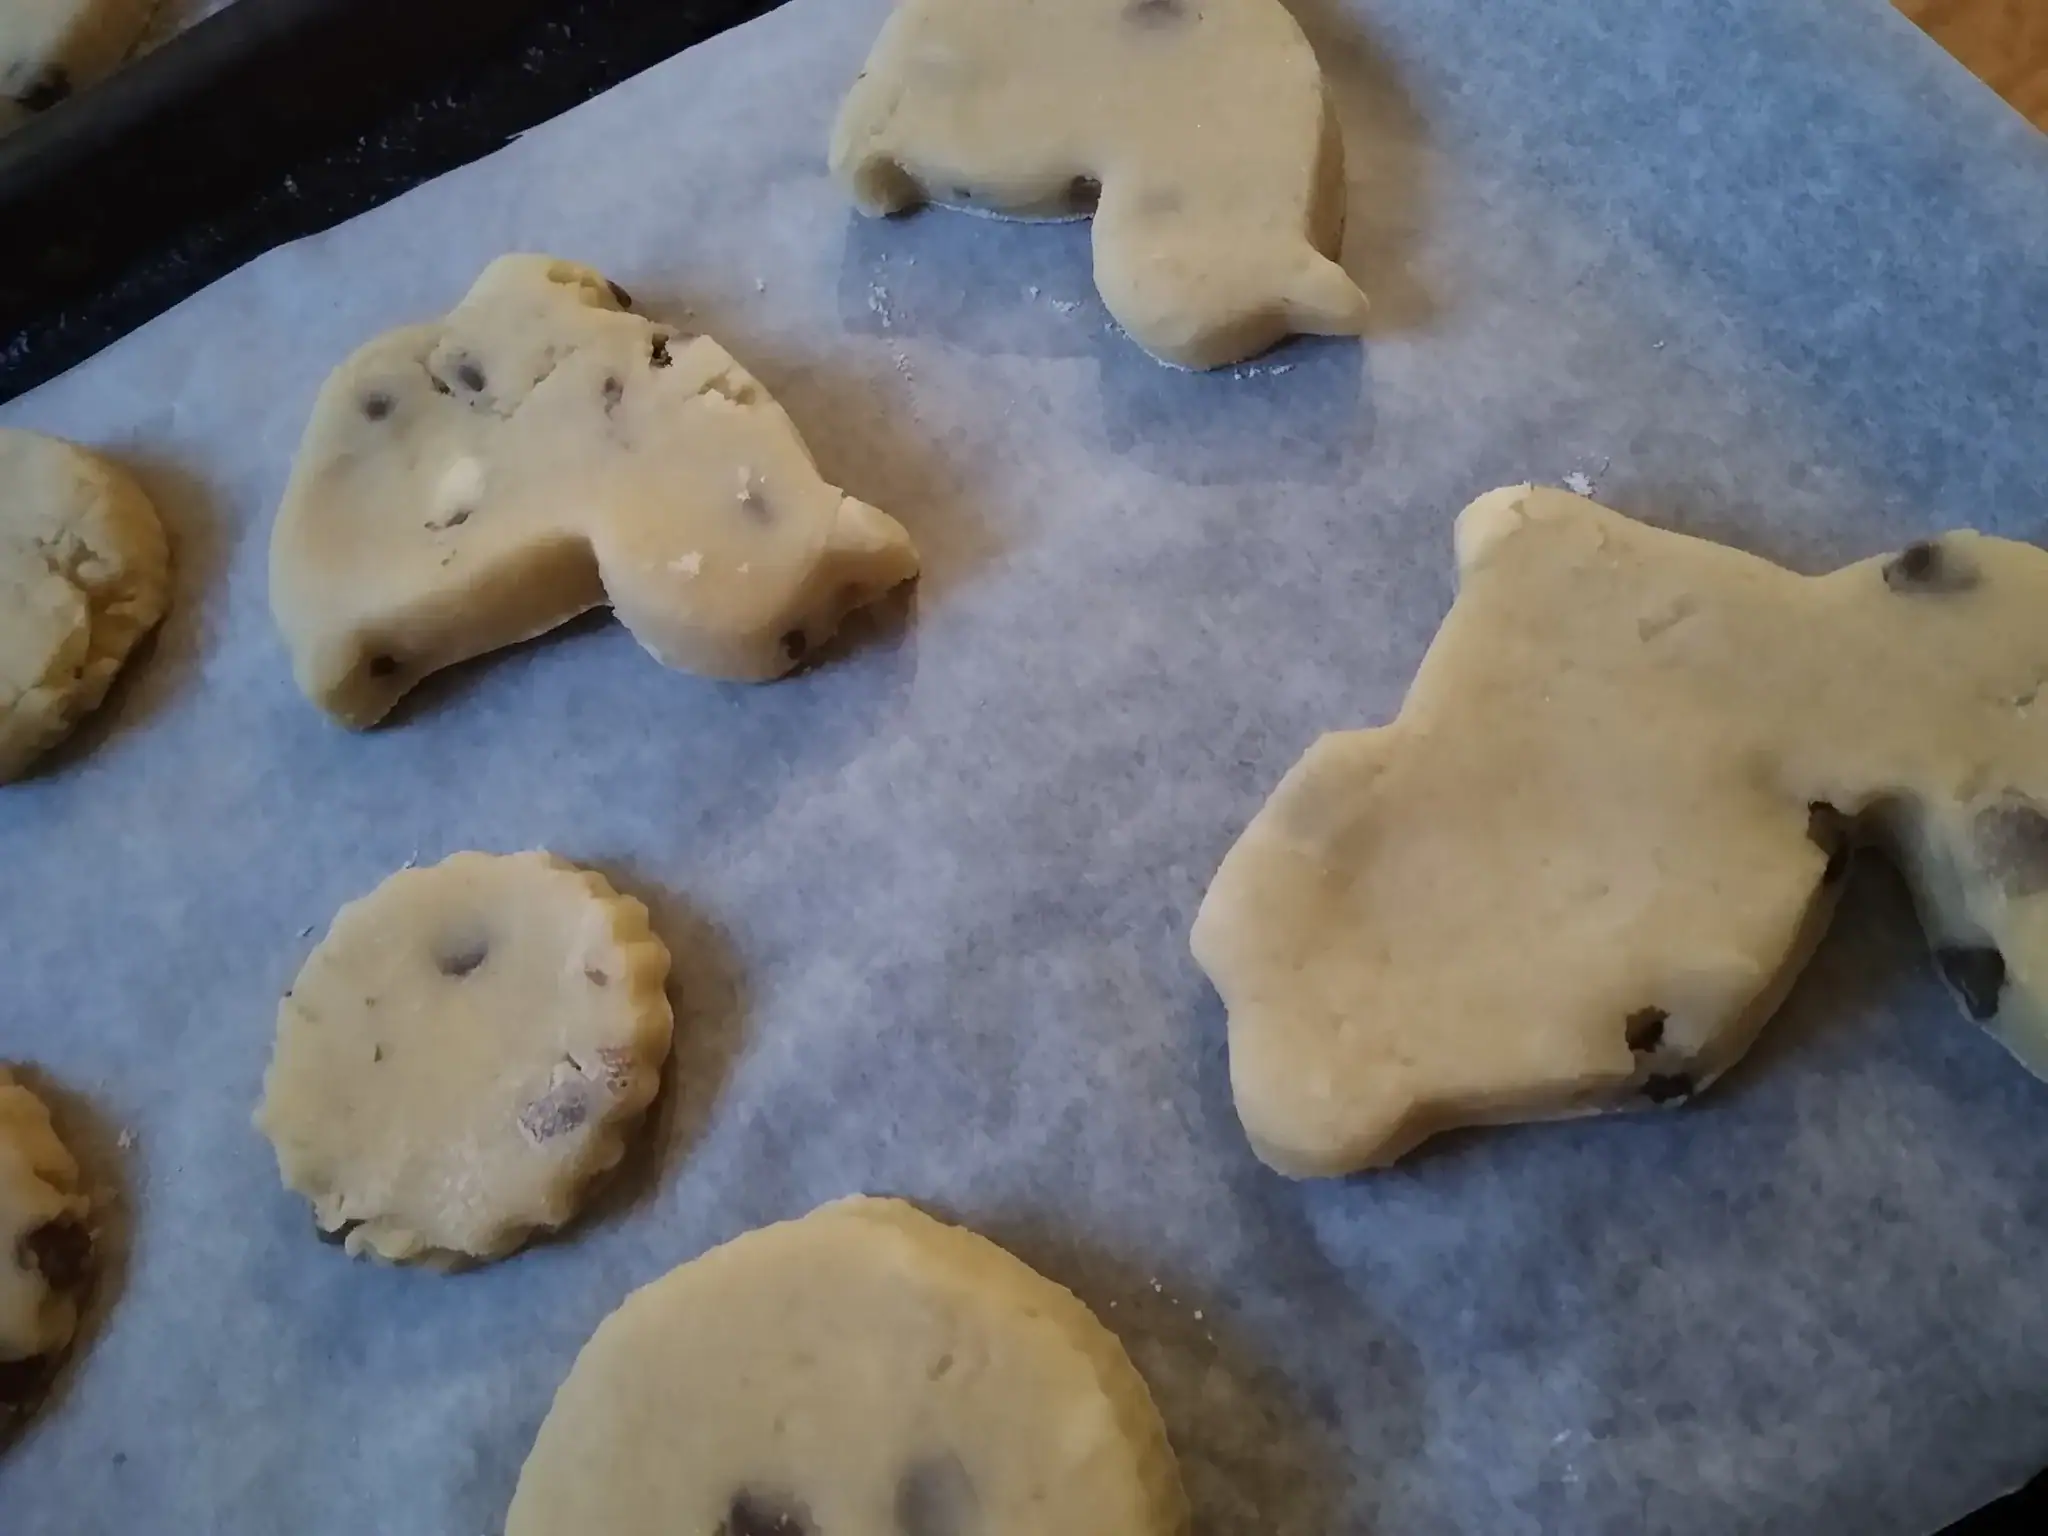
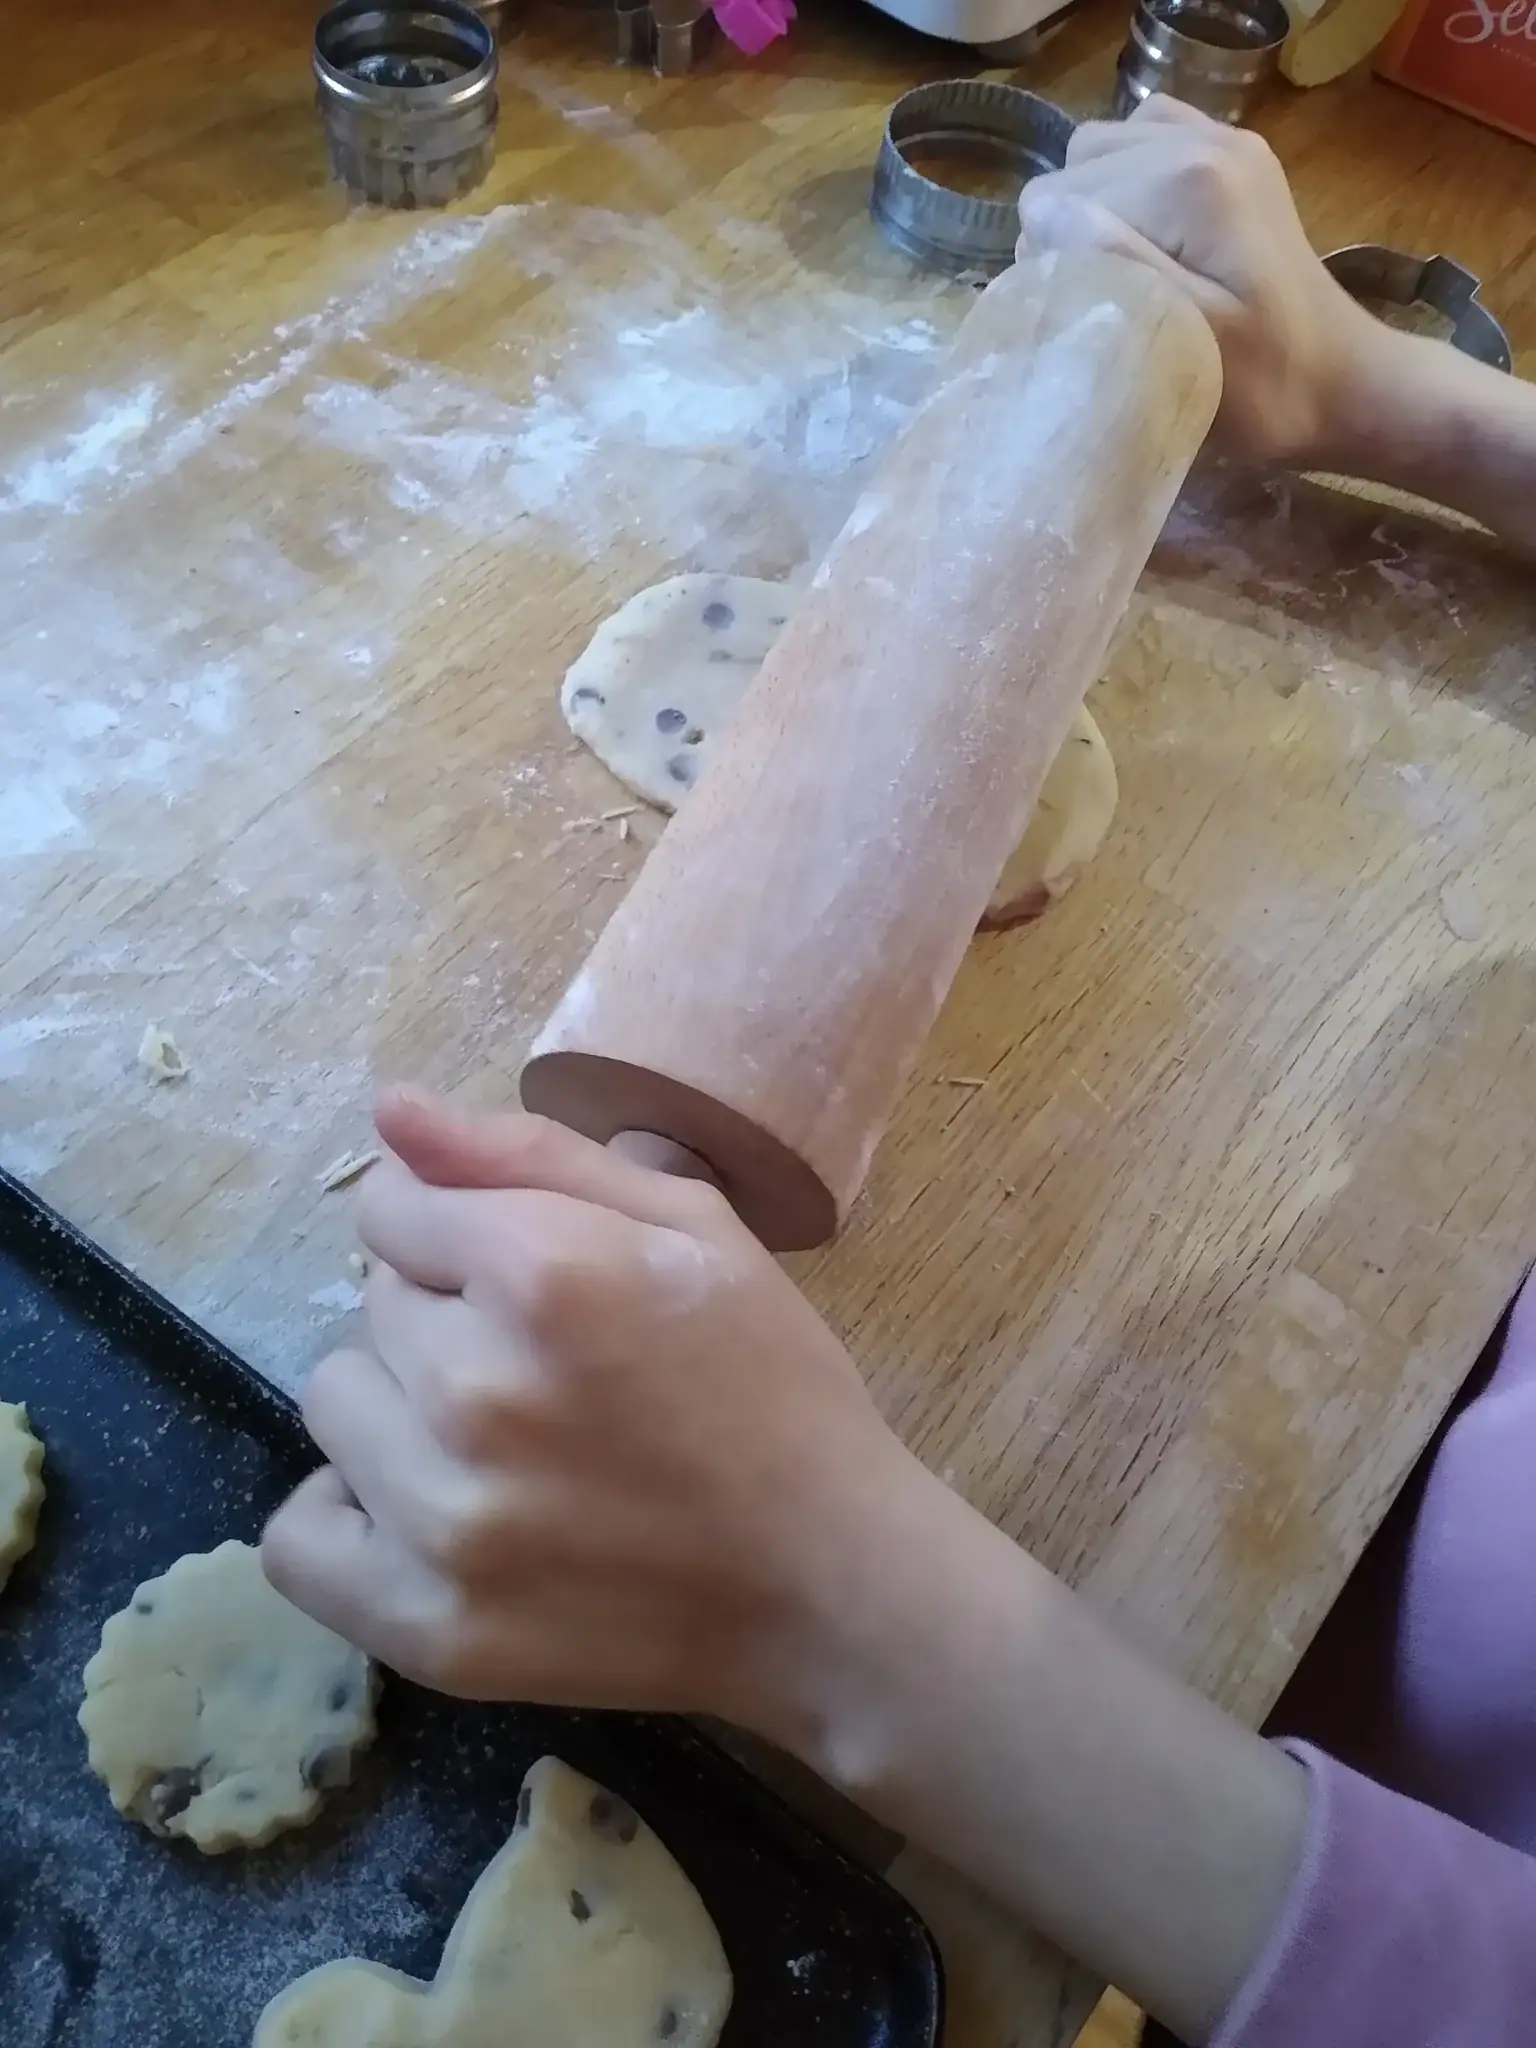
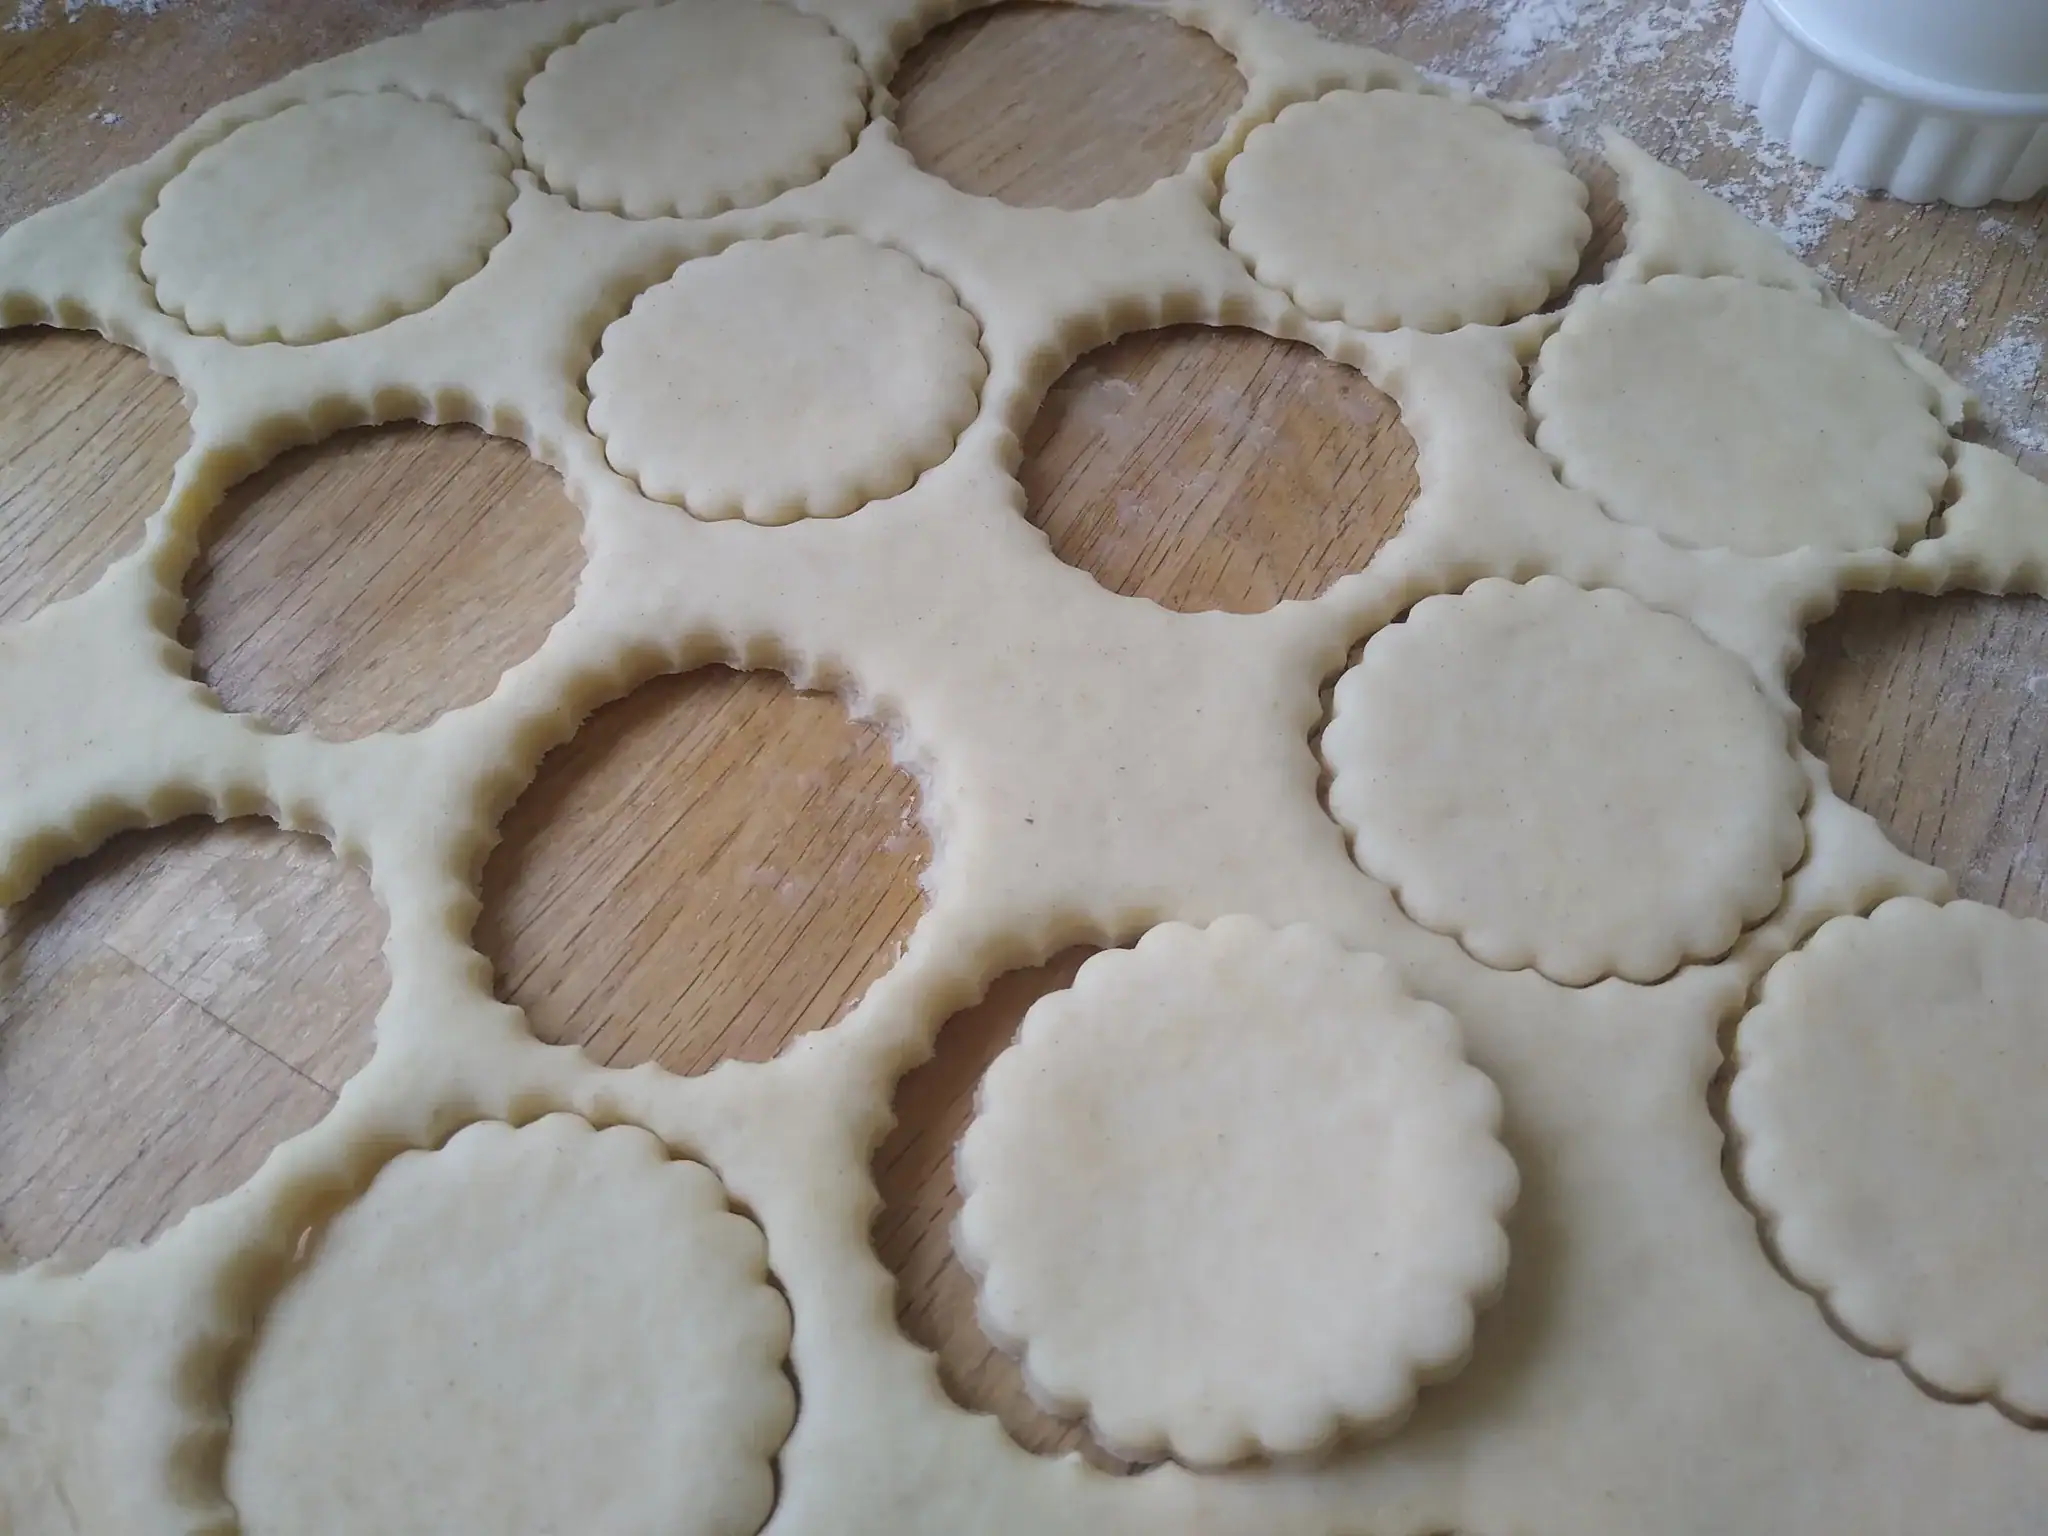
- Shape into rounds or cut out shapes. Place on a lined tray.
- Bake for 12–15 minutes until the edges are lightly golden.
- Cool completely before the grand taste test.
| Stage | What your child owns |
|---|---|
| 🌱 Explorer | Choosing their flavour from a little line-up. Sprinkling it into the dough. Squashing the mixture, letting them feel the texture. Tasting the result. |
| 🌟 Helper | Weighing the ingredients using the cup measurements. Mixing the butter and sugar, this can be difficult so step in if needed. Kneading/squashing their flavour into their own dough ball. Rolling, cutting and shaping. |
| 👨🍳 Little Chef | Starting to read the recipe. Weighing using grams. Dividing the dough evenly into equal balls. Choosing their own flavour combinations. Managing the timer. |
One base recipe. Two or three flavours. As many children as you’ve got.
Flavours — whatever you have in the cupboard
This is where it gets fun. You don’t need special ingredients for this — just have a rummage in your cupboards and see what jumps out. The beauty is that whatever your children choose, it’s going to work.
Here are some ideas to get the conversation going:
A good rule of thumb: about a tablespoon of mix-in per ball of dough. If they want to go bigger, that’s fine — but keep an eye on sticky mix-ins (like Smarties), because too many can make the biscuits collapse.
💡 A top tip from me
Lay out the possible flavours on the table before you start making the dough. Little bowls of each. This does two useful things. First, it makes the decision feel important — your child has to choose from this line-up, like a proper chef. Second, it means there’s less frustration mid-recipe when they realise we don’t actually have chocolate chips in.
Each stage in a bit more depth
Choosing, sprinkling, shaping
For the Explorer stage, I’d suggest making the base dough yourself and having it ready in the bowl before your child really gets involved. The exciting bit for them starts with adding the flavours and feeling the texture of the dough before being baked.
- The choice. Let them pick from your line-up of little bowls. Taste a chocolate chip. Smell the cinnamon. Rub a bit of coconut between their fingers. Which one do they want?
- The sprinkling. Once they’ve chosen, let them sprinkle or tip it into their dough ball. Even tiny hands can manage this.
- The squashing. Rather than rolling and cutting, just roll little balls and squash them onto the tray. Much simpler, and the biscuits look lovely and rustic.
- The waiting. Watching them bake through the oven door. Smelling them as they cook.
- The taste test at the end. This is their moment. Make a bit of a fuss of it.
Weighing, creaming, kneading
Helper stage is where the real hands-on work happens.
- Measuring the ingredients using cup measures. This is lovely early maths showing amounts in a visual way. A good chance to introduce the words whole and half.
- Mixing the butter and sugar. A proper arm workout, especially if the butter isn’t quite soft enough. Great for gross motor strength.
- Kneading the flavour in. Each child gets their own ball of dough. They work their chosen mix-in through it with their hands. This is magical — they can feel the texture change as the chocolate chips or dates get evenly distributed.
- Rolling and shaping. At this stage you can introduce cookie cutters if you fancy — stars, hearts, dinosaurs, whatever you’ve got. Or stick with squashed rounds; both are valid.
Starting to read, weighing, managing
Little Chef stage is about genuine independence. You’re nearby, but they’re in charge.
- Starting to read the recipe. Working through it step by step themselves.
- Weighing using the scales. Zeroing the scales, introducing grams, spooning flour in carefully, reading the display.
- Dividing the dough evenly. This is a surprisingly good fractions lesson. Is this half the same size as that half? How do you know? You could even pop them on the scales to compare.
- Choosing more creative flavour combinations. Not just one flavour per ball — maybe cinnamon and raisin together. Or dark chocolate and orange zest. They’re starting to think like a chef.
- Managing the oven. With supervision, handling the oven gloves and tray.
The grand taste test
This is the best bit. Don’t rush it.
Once the biscuits have cooled, line them up on plates, one plate per flavour. I like to do this properly: plates at equal distances on the table, each one with a little label. Go full Bake Off.
Then comes the taste test. I always suggest a blindfolded mystery test, because it removes the “well mine looks the best” factor. Each person takes a bite without knowing which one is which. Then you reveal.
Have a proper conversation about it. Which tastes the best? Which has the best crunch? Which is the sweetest? Which is a surprise?
One word of warning from experience — children can be brutal judges of their own biscuits. If one child declares their own to be the best and another child’s to be “a bit dry” (true story), that’s a good opportunity for a gentle chat about how we offer feedback, that is helpful. Life skill, right there.
Tips, troubleshooting and variations
🔧 If something goes wrong
Dough too crumbly? Add a tiny splash of cold water or milk and work it in gently. Usually just means the butter was a bit too cold.
Dough too sticky? A sprinkle of flour will sort it out. Or chill it for 15 minutes before rolling.
Biscuits spread too much in the oven? Next time, chill the shaped biscuits for 15 minutes before baking.
Biscuits too hard? Probably in the oven a touch too long. They carry on cooking a bit as they cool, so pull them out when they’re just golden at the edges.
Once you’ve got the hang of the base recipe, you can get more ambitious:
- Icing decoration round: once the biscuits are cooled, do a second creative round with icing and sprinkles. The biscuit itself becomes a blank canvas.
- Sandwich biscuits: make smaller rounds and sandwich two together with jam.
- Giant vs mini: one child makes one big biscuit, another makes lots of tiny ones. Talk about the size difference, and estimate baking times together. Does it change depending on the size of the biscuit?
What your child will have learned
By the end of a proper biscuit experiment, your child will have:
- Maths – Weighed out ingredients using scales or scoops
- Worked on gross motor strength (mixing and kneading)
- Practised fine motor skills (rolling, shaping, placing)
- Made a proper decision about their own flavour
- Understood timing (when to take them out of the oven)
- Experienced science in action — how does cinnamon change the dough? What happens when you add liquid to a crumbly mix?
- Taken part in a genuine tasting conversation — using descriptive language like crunchy, sweet, buttery, too strong
- Eaten something they made themselves
Not bad for one bowl, three ingredients, and an afternoon.
Keep Reading
Enjoyed This Recipe?
Browse more on our blog or sign up for our newsletter to get new recipes delivered straight to your inbox!
Back to Blog →