No-Bake Energy Balls — An Easy First Recipe for Children
If you’ve ever wanted to bake with your child but worried about the oven, the timing, and the inevitable “are they ready yet?” meltdown five minutes in — this is the recipe for you. No oven. No waiting around. Just a bowl, some oats, and proper hands-in-the-mixture stuff.
No-bake energy balls are one of those rare recipes that genuinely works for any child, at any stage. Toddlers can dive in and explore. Older children can take the whole thing on. And siblings can work side by side, doing different parts of the same recipe. They’re also lunchbox-friendly, freezer-friendly and brilliant for after-school snacks.
This is the kind of recipe that builds confidence fast — because it almost can’t go wrong. Too dry? Add more nut butter. Too sticky? Add more oats. The recipe adapts, your child relaxes, and you end up with a tray of snacks made entirely by them.
↓ Jump straight to the recipeWhy no-bake is the perfect first recipe
There’s a reason no-bake recipes are my go-to suggestion for parents who are nervous about starting to cook with their children. Here’s why:
- No oven to worry about. Your full attention stays at the kitchen table where your child is.
- Minimal waiting. Short, engaging, and there’s a reasonable chance your child stays with you start to finish.
- It’s a proper workout. Mixing this thick, sticky dough is genuine gross-motor work — and that’s exactly where the strengthening happens.
- It’s forgiving. Too dry? More nut butter. Too sticky? More oats. The recipe holds up no matter what.
- It builds choice and confidence. Letting your child pick the mix-ins is a real decision-making moment — and the act of choosing makes them so much more likely to actually eat it.
And if your child wanders off halfway through? That’s also not a problem. That’s the whole point of Stages Not Ages.
Safety notes
🛡️ Before you start
- Wash hands before handling food, and wipe down the worktop.
- Check for nut allergies — swap to sunflower seed butter or tahini if needed.
- Be mindful of mix-ins for young children. Whole nuts, large chocolate chips and dried fruit can be a choking hazard, so chop or swap accordingly.
- If your child doesn’t like sticky textures, use spoons throughout — no need to touch the dough at all.
- Honey is not suitable for children under 1 — use maple syrup instead.
- Always supervise younger children and adapt independence to where they are on the stages.
What you need (and what you don’t)
This is properly minimal kit. Here’s the lot:
What you do need:
- A large mixing bowl
- A wooden spoon or sturdy spatula
- Measuring cups (or scales for a Little Chef)
- A tablespoon
- A tray or plate for chilling
- A sealed container for storage
What you don’t need:
- A food processor
- An oven
- A stand mixer
- Any fancy equipment whatsoever
This is the recipe you pull out on a rainy Tuesday when you don’t fancy washing up half the kitchen afterwards.
The recipe
🌰 No-Bake Energy Balls
A one-bowl, no-oven snack your child can almost entirely make themselves. Oats, nut butter, a little sweetness, and whatever mix-ins they fancy.
Ingredients
- 200g (2 cups) rolled oats
- 4 tbsp nut butter (or sunflower seed butter / tahini)
- 4 tbsp honey or maple syrup
- About 4 tbsp mix-ins of their choice — chocolate chips, raisins, shredded coconut, chopped dates
Method
- Wash hands and wipe the worktop together — habit from the start.
- Tip the oats into the bowl. A lovely chance to chat: “Where do oats come from?”
- Spoon in the nut butter and the honey or maple syrup. Count the tablespoons together as they go in.
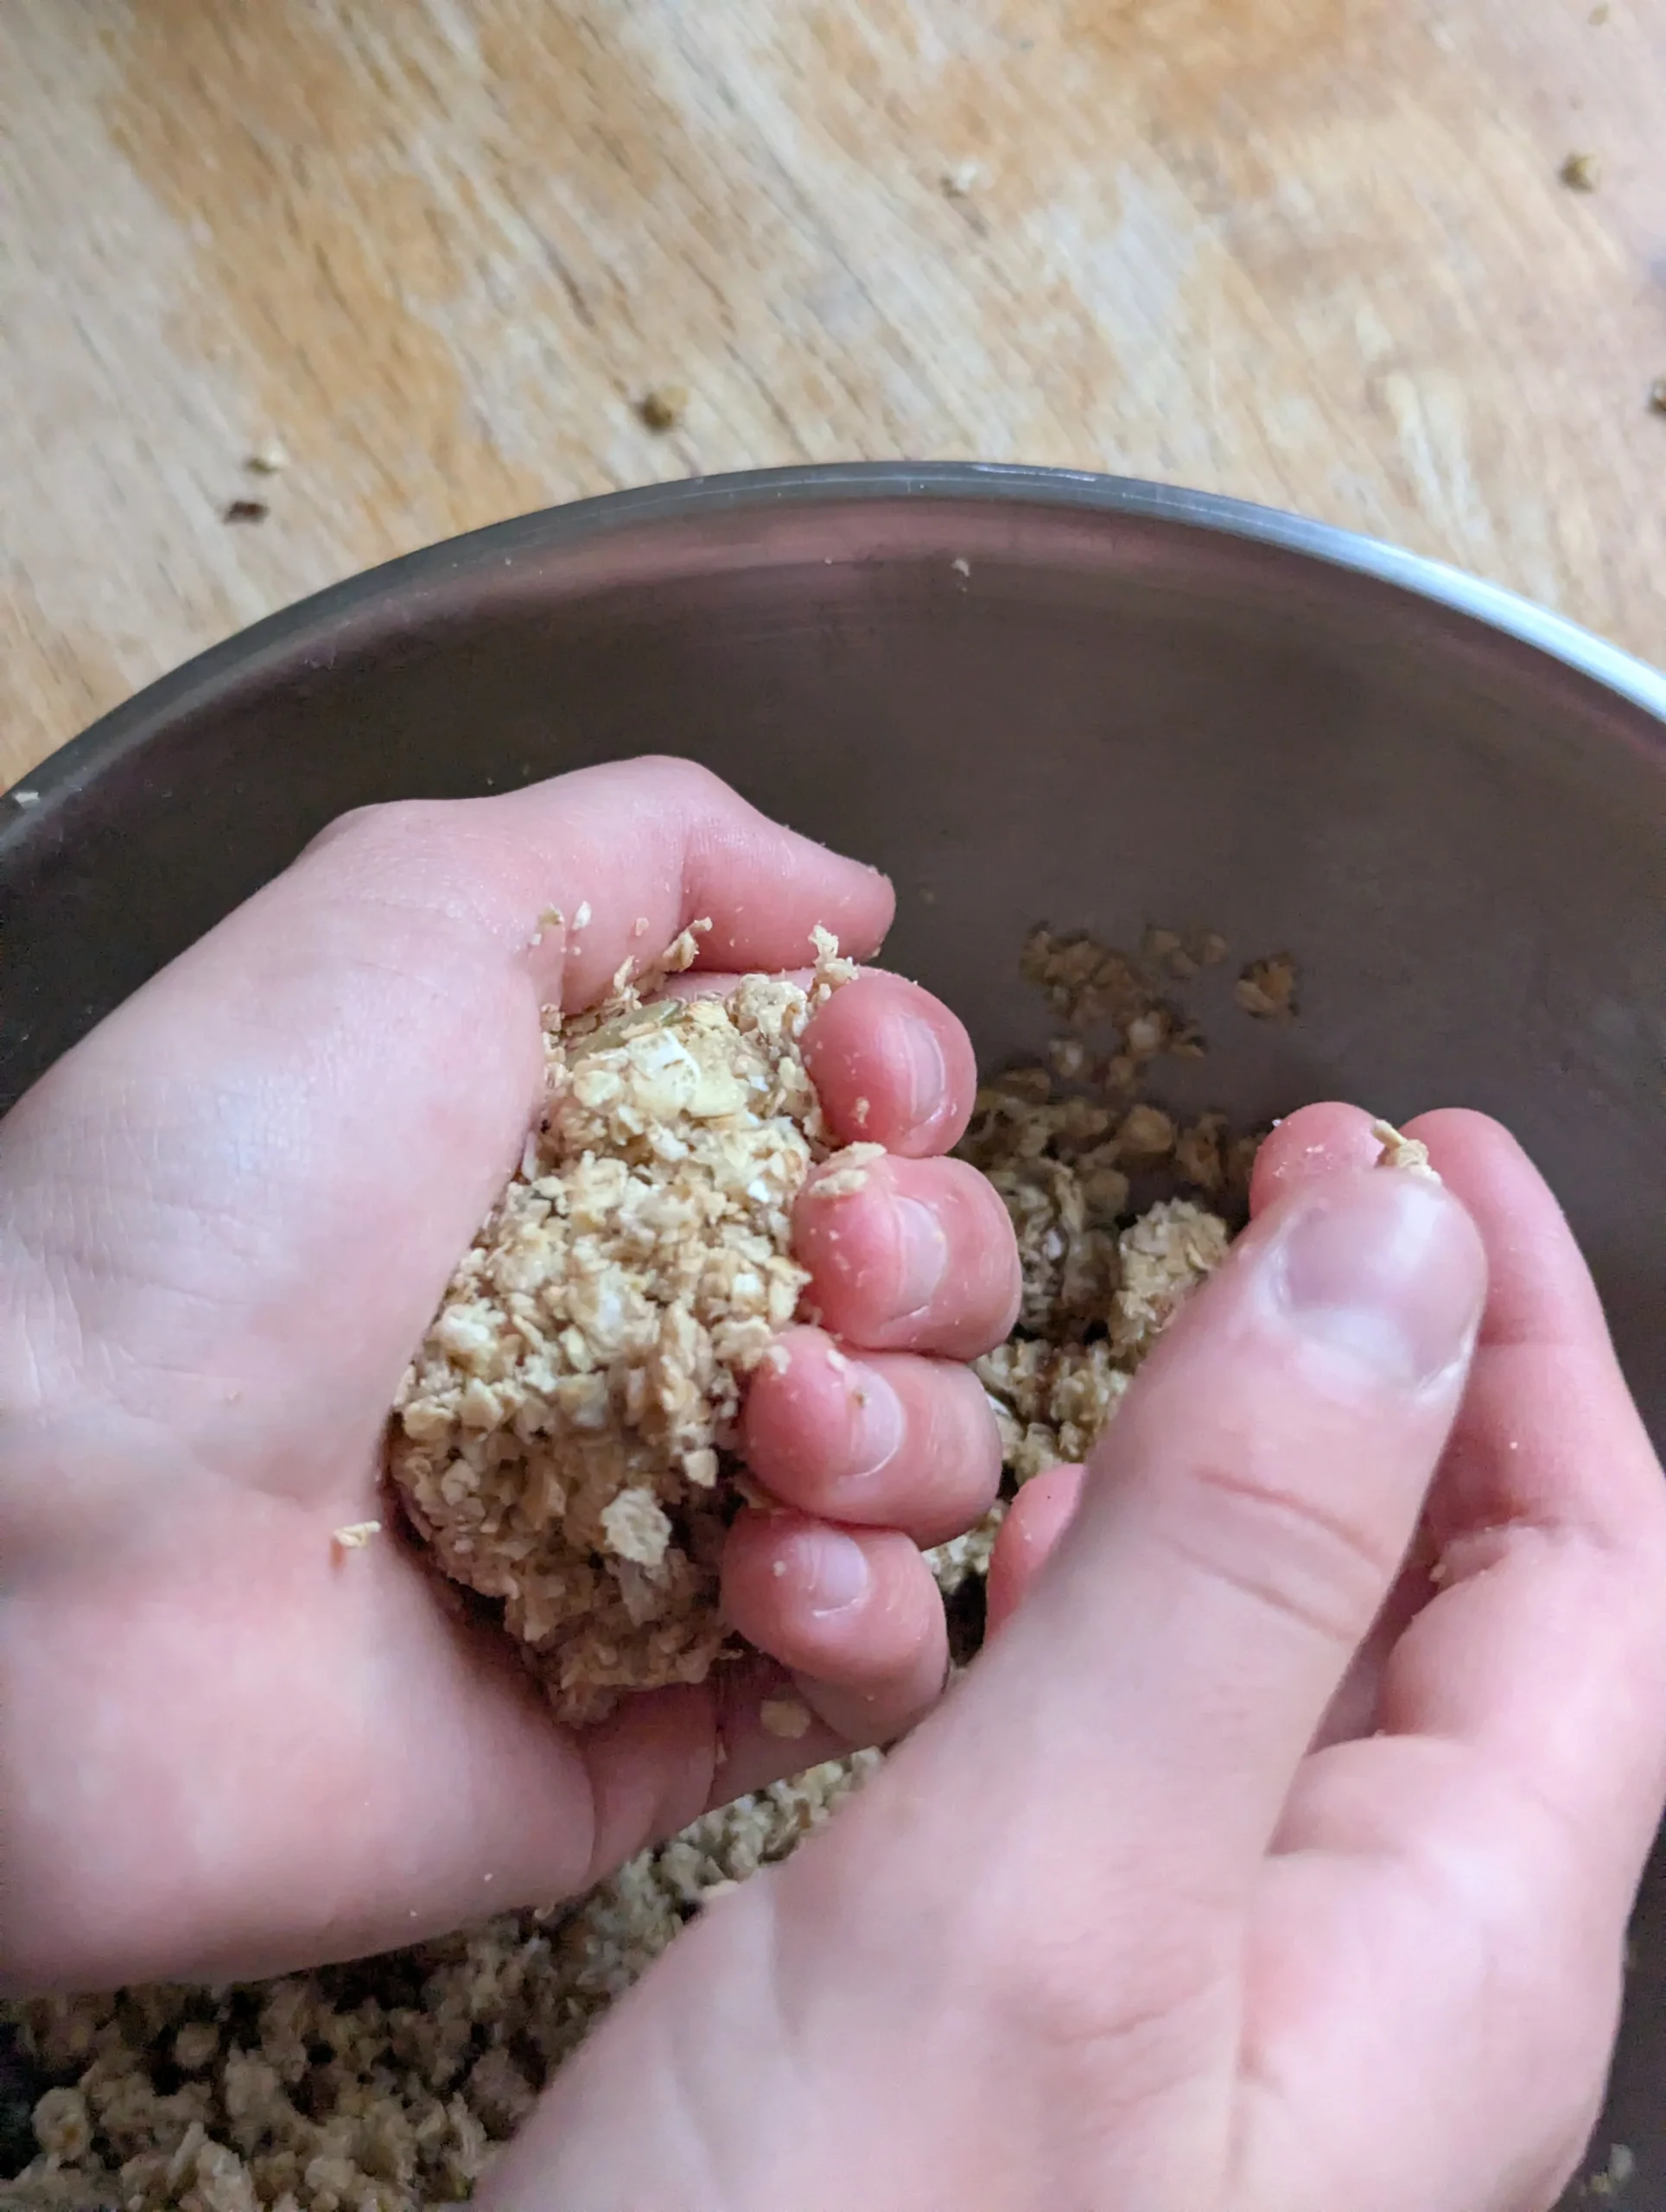
- Mix it all together with a wooden spoon. This is a workout — the dough is heavy and sticky, and it’s proper gross-motor work for little arms. Let them push through if they can.
- Let your child choose the mix-ins. Stir them through gently.
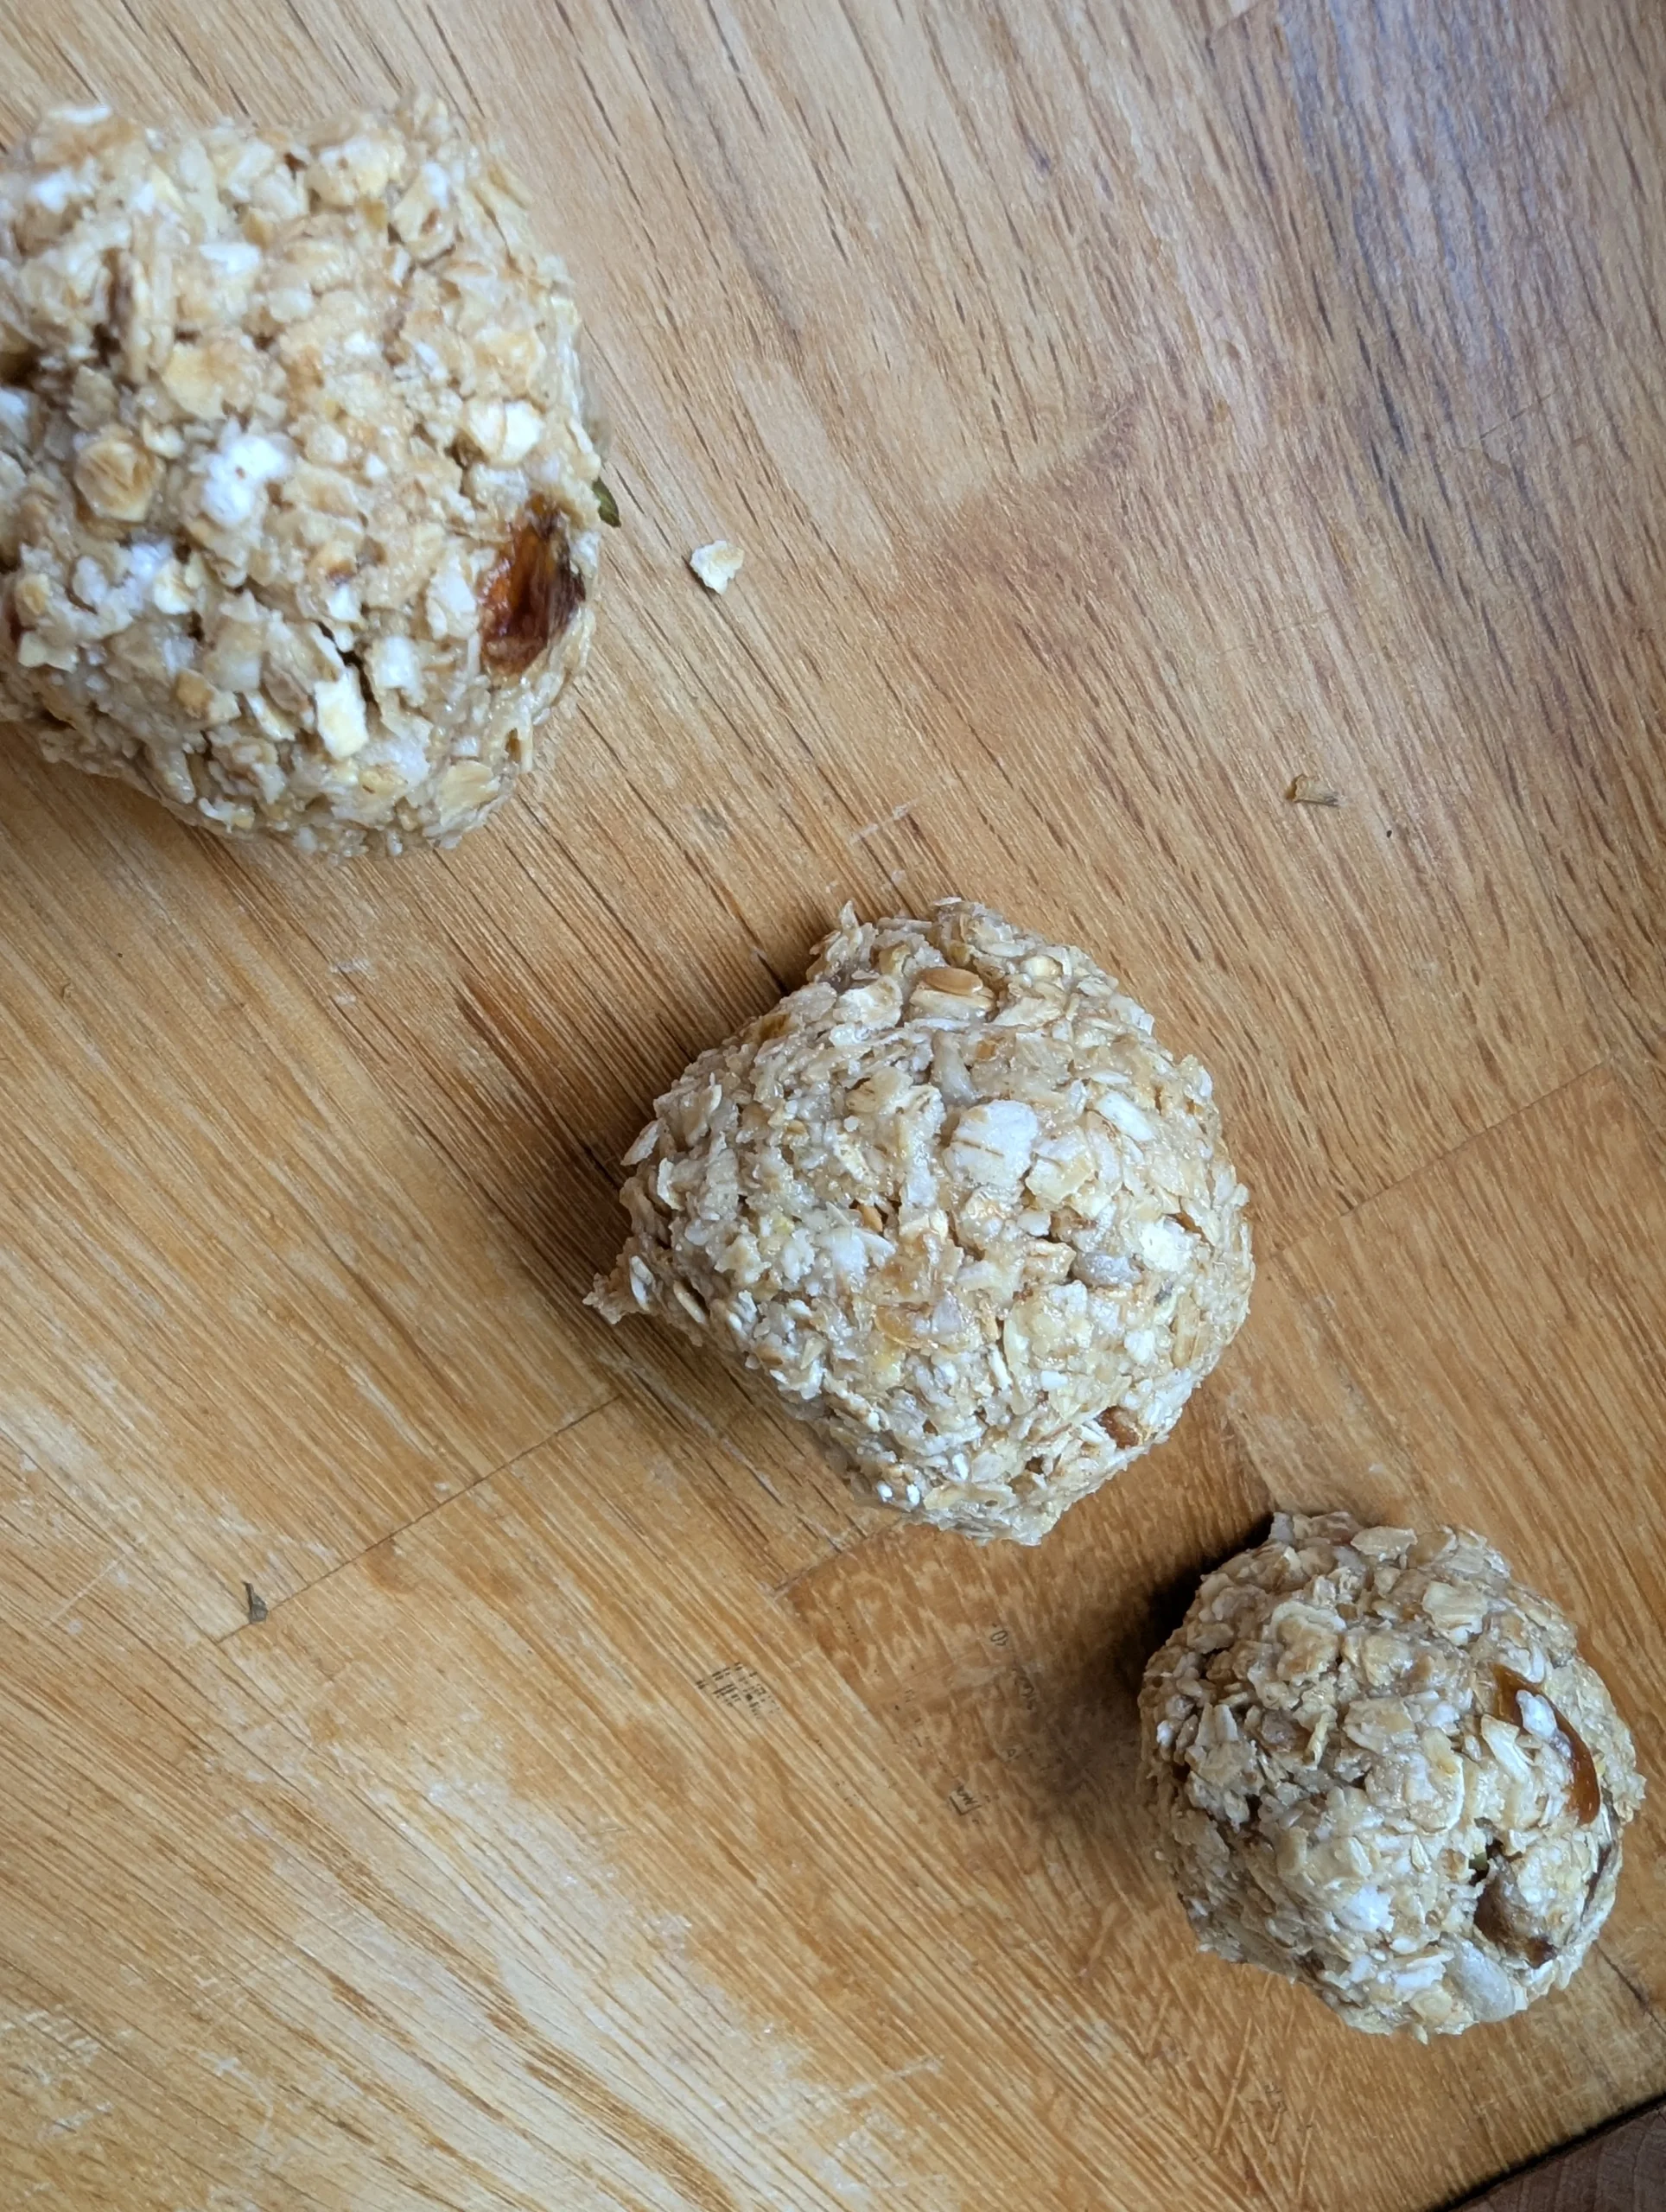
- Roll the mixture into balls and pop them onto the tray. Count them out loud as they go — “How many did we make?” Two spoons pressed together also works if hands stay clean.
- Chill in the fridge for 30 minutes to firm up. Set a timer together — Little Chefs can manage this themselves.
- Pop a song on and have a quick kitchen tidy together. Race to put things away before the song ends.
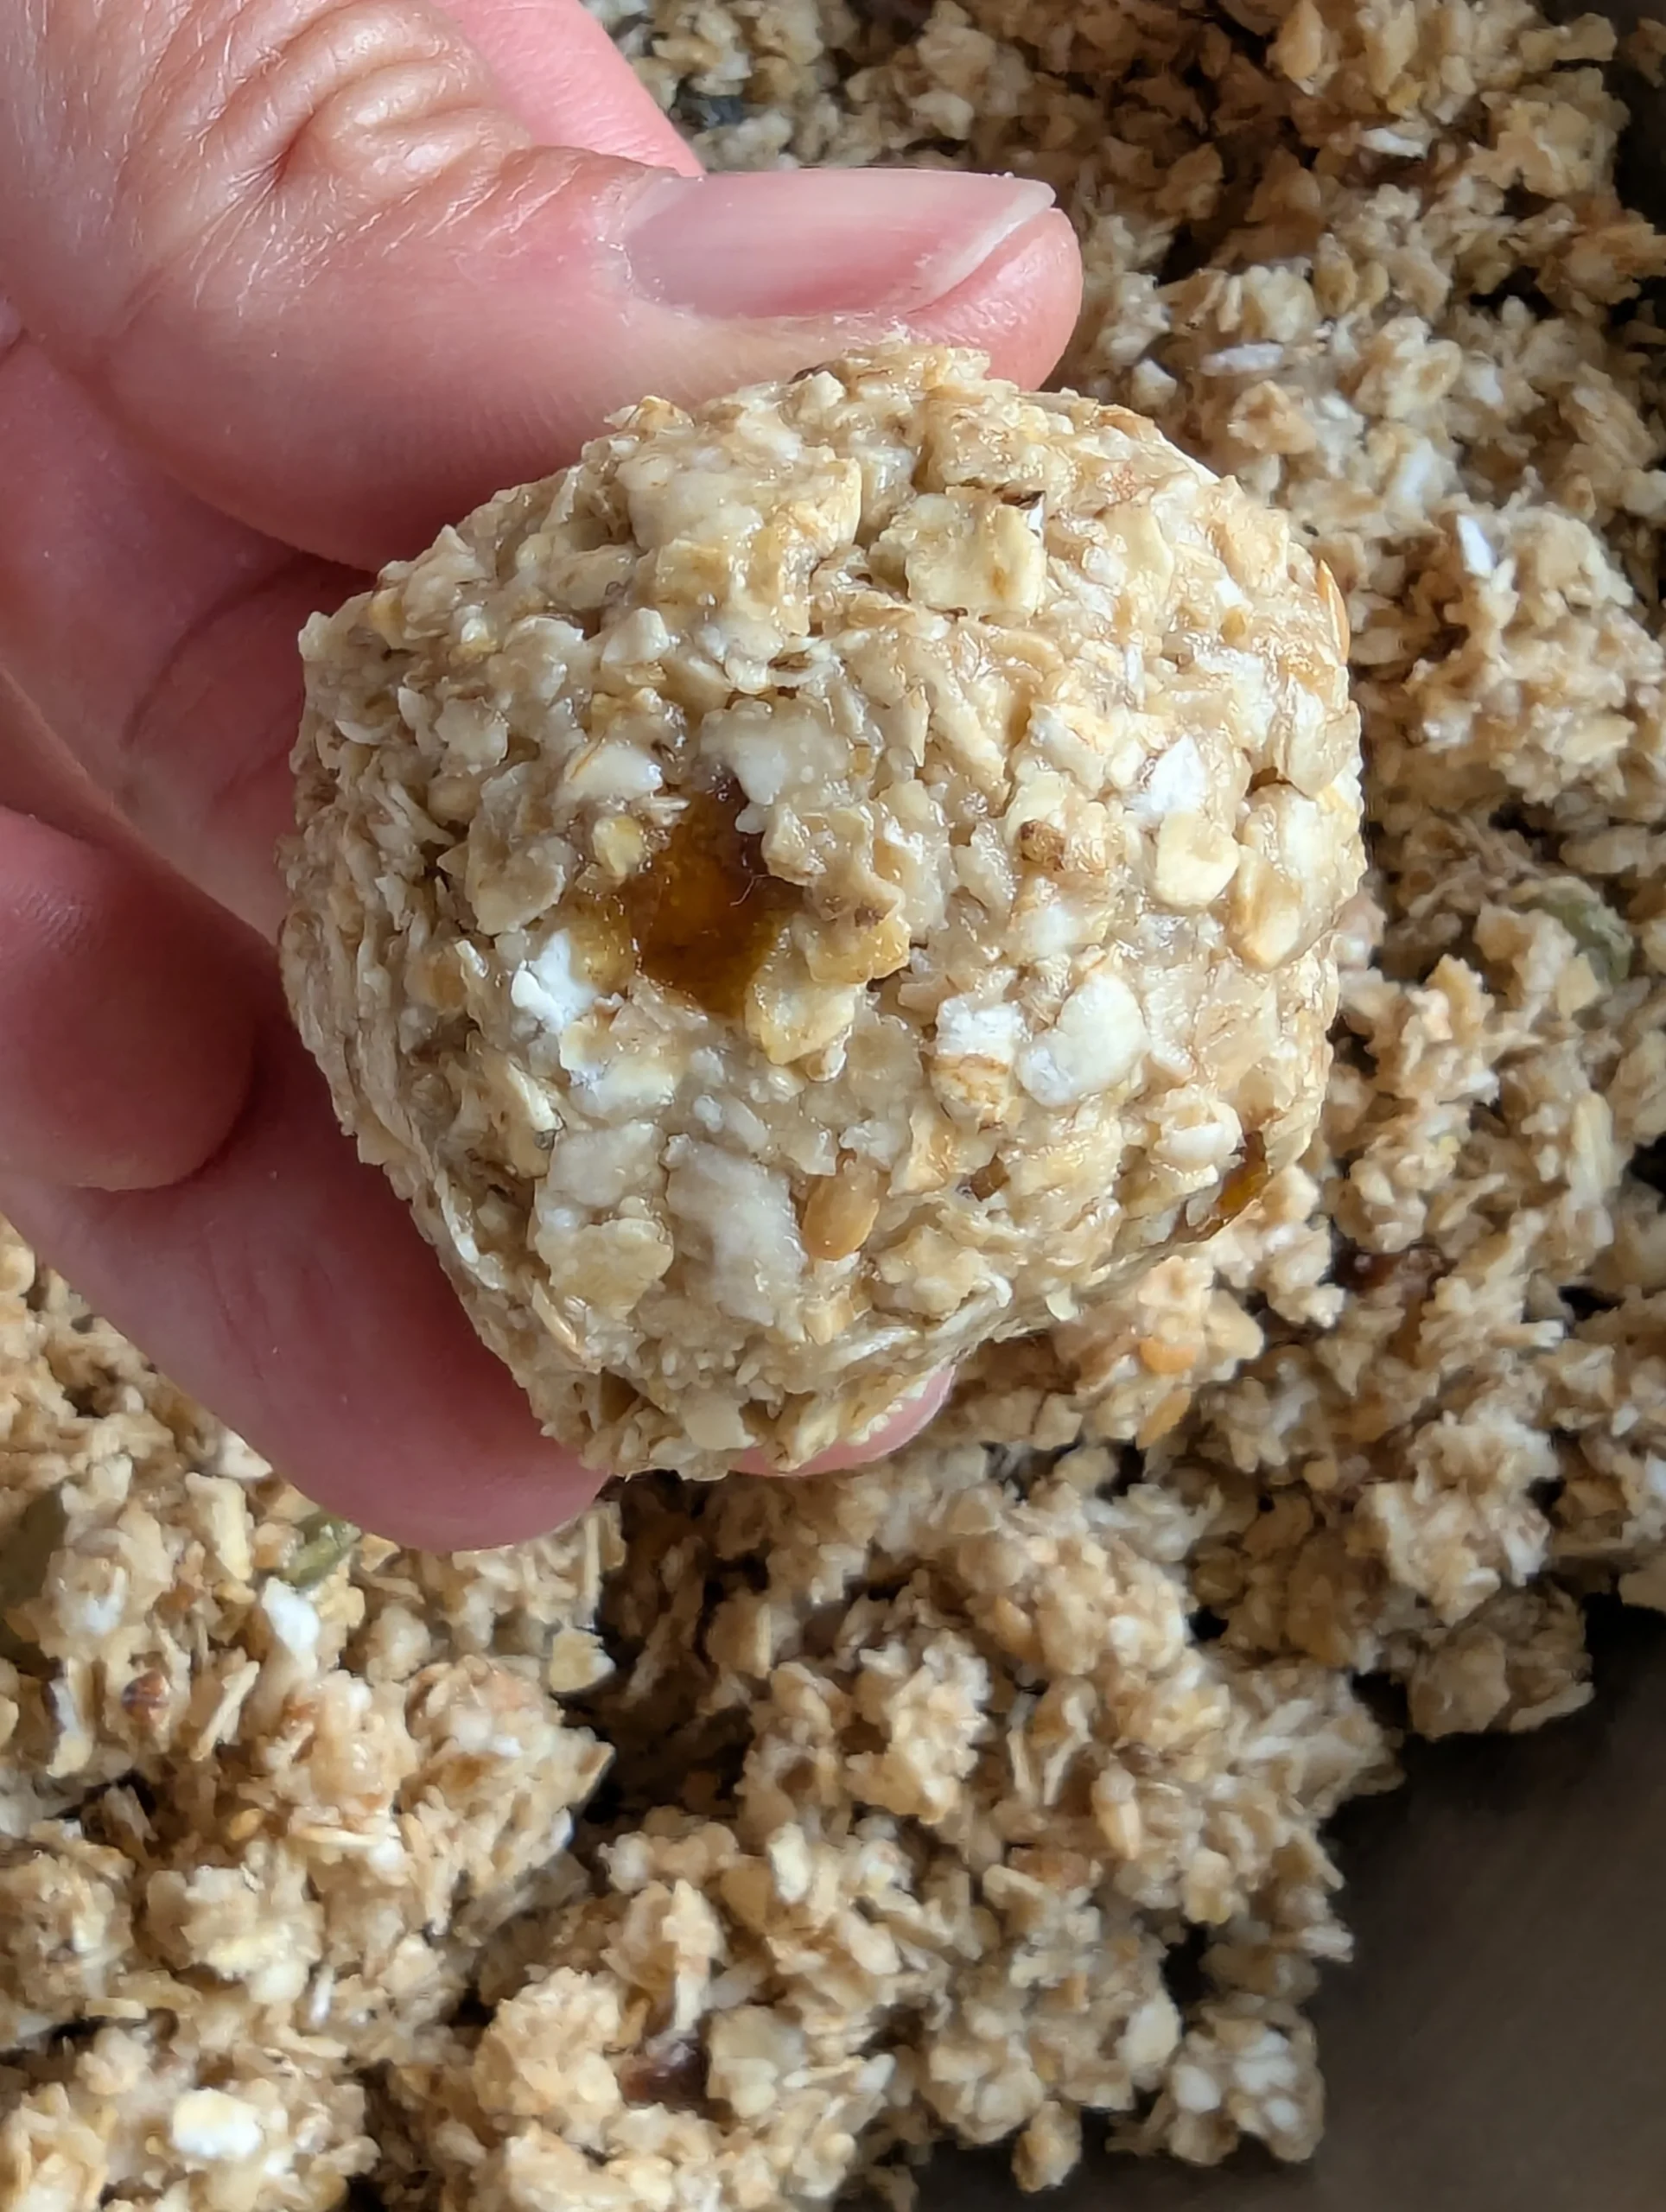
🔬 The kitchen science of binding
How do dry oats turn into a firm little ball that holds its shape? It’s a brilliant bit of kitchen science worth pointing out to a curious Little Chef.
The nut butter is the glue. Nut butters are mostly fat, and fat is sticky. When you mix it through the oats, the fat coats every flake and starts to hold them together. It’s the same idea as why a peanut butter sandwich sticks to itself.
The honey adds more stick. Honey and maple syrup are very sugary, and sugar gets sticky at room temperature. As soon as you stir it through the oats and nut butter, the whole thing becomes one mass.
The chill firms it up. When the mixture goes in the fridge, the fat in the nut butter hardens. That’s why the balls go from squishy-soft to firm-and-poppable after half an hour. Take one out of the fridge and leave it on the side for ten minutes, and it’ll soften again — same chemistry, working in reverse.
At each Dinky Bakers stage
Here’s how no-bake energy balls look different across our three stages — same recipe, different roles for your child. Perfect for siblings working side by side.
Touching, smelling, choosing
For Explorers, this recipe is all about sensory exploration and small choices. No pressure to do the actual mixing — that’s a workout for older arms.
- Their job: Touching, smelling and looking at the oats. Watching you mix and listening to the squelchy sounds. Choosing a mix-in. Diving hands in at the end if they want to.
- Sensory words to use: “rough,” “smooth,” “sticky,” “squidgy,” “soft,” “crunchy.”
- Where you take over: All the mixing, the measuring, the rolling.
The balls won’t look uniform — and that’s exactly right. They’ll look made by my child, which is far better.
Measuring, spooning, rolling
Helpers can take on most of the recipe with you alongside. The rolling stage is brilliant for fine motor control.
- Their job: Measuring the oats with a cup. Spooning the nut butter and honey. Doing as much of the mixing as they can. Rolling the balls. Counting them onto the tray.
- Conversation prompts: “How many balls have we made? How many can each person have if we share between four of us?”
- Where you take over: Final scrape of the bowl, anything that needs precision they’re not quite ready for.
This is a brilliant stage for working on textures — sticky, crumbly, just right. Lots of conversation to be had about what the dough needs.
Owning the whole recipe
Little Chefs can read the recipe and make the whole thing themselves, with you sat nearby.
- Their job: Reading the recipe. Weighing in grams on the scales. Mixing independently. Choosing their own mix-ins and quantities. Making creative decisions — “What if I add cinnamon?” Managing the timer for the chill.
- Ask “why” questions: “Why does the nut butter help it stick? Why do we chill them? What would happen if we left them out instead?”
- Where you take over: Honestly, almost nothing.
This is a great recipe for a Little Chef to make as a gift — for Grandma, a teacher, a neighbour. The pride of I made these myself goes a long way.
Troubleshooting
If something isn’t quite working, don’t panic — this recipe is genuinely forgiving. Here are the most common fixes:
🔍 Common fixes
- The mixture won’t stick together. Add a little more nut butter, a tablespoon at a time. It’s usually too dry.
- The mixture is too sticky to roll. Add a tablespoon more oats and stir through, or pop the bowl in the fridge for 10 minutes to firm up.
- The balls keep falling apart. Press more firmly as you roll. Warm hands help — let your child wash their hands in warm water if the dough’s struggling to come together.
- They taste a bit bland. Add a pinch of cinnamon, a splash of vanilla, or a spoonful of cocoa. Tiny additions, big difference.
- Frustration builds. Just stop. Step away. Come back to it later — we’re only human, not robots. Showing your child that it’s okay to take a break is part of the lesson.
Variations to try
Once you’ve nailed the basic recipe, the possibilities are honestly endless. Here are a few of our favourites:
- Chocolate brownie balls. Add 1 tbsp cocoa powder and dark chocolate chips. Rich, fudgy, gone in minutes.
- Apricot & coconut. Chopped dried apricots, shredded coconut, a touch of cinnamon. Sunshine in a snack.
- Carrot cake. Add a small grated carrot, raisins, a pinch of cinnamon and a sprinkle of mixed spice. Sounds odd, tastes brilliant.
- Birthday cake. A few sprinkles, a splash of vanilla and a handful of white chocolate chips. Pure joy.
- Peanut butter & jam. Smooth peanut butter as the base, with a tiny spoonful of jam pressed into the middle of each ball. A sandwich in a ball.
Let your child design their own combination once they’ve got the basic recipe down. The decision-making is half the fun.
Frequently asked questions
Can I make these without nuts?
Absolutely. Swap the nut butter for sunflower seed butter or tahini — both work beautifully and have a similar consistency. This is the version I’d use if you’re packing them for a nut-free school lunchbox.
How long do they keep?
About a week in the fridge in a sealed container. They also freeze brilliantly — pop them in a freezer bag and thaw when needed. Honestly though, in most houses they don’t last that long.
My mixture won’t stick together — what do I do?
Add a little more nut butter, a small amount at a time. It usually means the dough is too dry. If it goes the other way and gets too sticky, add a tablespoon more oats. Keep tweaking gently until the texture feels right.
Are these suitable for toddlers?
Yes — but please be mindful of the mix-ins. Whole nuts, large chocolate chips and dried fruit can be a choking hazard for very young children, so chop or swap accordingly. Also check that any nut butters you use are smooth, not crunchy.
Honey isn’t suitable for under-1s — use maple syrup instead. As always, you know your child best.
Can I make these vegan?
Yes. Use maple syrup instead of honey, and choose dairy-free chocolate chips if you’re including them. The recipe works exactly the same.
Do I need a food processor?
Not at all. This is a one-bowl, one-spoon recipe. The whole point is that it’s accessible, even on a rainy afternoon when you don’t fancy washing up loads of equipment.
My child won’t touch the sticky mixture — does that ruin it?
Not in the slightest. Use spoons throughout — for mixing, scooping and shaping. You can shape the mixture by pressing two spoons together to form rough rounds.
Some children genuinely don’t enjoy sticky textures and that’s completely fine. The recipe still counts.
Can we use porridge oats or do they need to be rolled oats?
Either works. Rolled oats give a slightly chunkier texture, while porridge oats (the finer ones) make a smoother, softer ball. Use whatever you’ve got in the cupboard.
✨ One thing to try this week
Pick a rainy afternoon — these are made for those — and try this recipe with your child. Don’t aim for perfect, identical balls. Aim for balls we made together. Let them choose the mix-ins. Let them roll badly. Let them eat one straight from the bowl.
It’ll be a small win that they’ll remember. And you’ll have a tray of snacks for the week ahead.
Ready to Cook and Learn Together?
Get the Dinky Bakers Starter Kit
Five beginner-friendly recipes with stage-by-stage job lists, conversation prompts, and parent tips — all scaffolded across Explorer, Helper and Little Chef stages. The perfect next step after your first batch of energy balls.
Get the Starter Kit → £9