No-Bake Energy Balls: An Easy First Recipe for Kids
Oh my goodness, it’s a rainy afternoon. The children are bored. You’ve tried the colouring. You’ve tried the sofa cushion fort. What on earth shall we do now?….No-bake energy balls!
Make these no-bake energy balls. No oven needed. Pretty quick. A short little wait in the fridge at the end. And best of all everyone from Explorer to Little Chef can take part, no matter where your child is on the Dinky Bakers stages.
You’ll get measuring, mixing, rolling, choosing, tasting and a proper sense of pride at the end. Read on for the recipe, why this works so beautifully as a first proper cook-along, and how to adapt it for your Explorer, Helper or Little Chef.
Why no-bake is the perfect starting point
First of all — let’s not think that a no-bake recipe means we’re being lazy, or that we’re not really “cooking”. Not at all. A no-bake recipe is a brilliant starting point, and there’s real reason behind that.
There’s no oven to worry about, so your full attention can stay on the kitchen table or worktop, where your child or children are. There’s minimal waiting — the fridge does the setting for you, and 30 minutes is long enough to tidy up and still have a snack ready. It’s short and engaging, so there’s a reasonable chance your child stays with you from start to finish. And if they don’t? That’s also not a problem. (That’s the whole point of stages, not ages.)
A quick note on that last point. Some children will absolutely love getting their hands in the sticky dough. Others will take one look and say no thank you. Both are completely fine. If the squishy stuff is too much, you can use spoons throughout. You don’t have to touch a single oat for this recipe to count.
The ingredients (and why these ones)
The core ingredients are beautifully simple: oats, a nut butter (peanut, almond, cashew — whichever, or tahini / sunflower seed butter if you’re going nut-free), honey or maple syrup, and your chosen mix-ins.
I chose oats as the base for a reason. They’re cheap, they’re forgiving, and most people have them knocking about. This really can be an off-the-cuff recipe you throw together when the afternoon stretches out in front of you.
Oats also open up a lovely little conversation: where do oats come from? How are they grown? What is the farmer’s role? How does it get from a field, into packaging, into the supermarket, into our cupboard? Plenty of chat there without even starting the recipe.
This is one of the things I love most about this recipe. Let your child choose the mix-ins. I’m not promising they’ll eat all of them, depending on where they are at with food exploration, it might just be one small try. But even just the act of choosing, “I would like this in it”, is a big confidence moment. Maybe they want chocolate chips AND shredded coconut. Great. Maybe they want dates on one half and raisins on the other. Also great, you’ve just turned it into a little experiment.
Here are some ideas to get the conversation going:
🥜 Swaps for allergies and preferences
Nut-free: use sunflower seed butter or tahini instead of nut butter.
No added sugar: swap the honey/maple syrup for soaked, blended dates. Actually lovely.
Vegan: use maple syrup (not honey) and dairy-free chocolate chips.
🍫 No-Bake Energy Balls
A simple, sticky, customisable recipe perfect for rainy afternoons and a lovely first proper cook-along.
Ingredients
- 200g or 2 cups rolled oats
- 4 tbsp nut butter (or sunflower seed butter / tahini)
- 4 tbsp honey or maple syrup
- Mix-ins of choice (about 4 tbsp total) — chocolate chips, raisins, shredded coconut, chopped dates
Method
- Tip the oats into a bowl.
- Spoon in the nut butter and the honey or maple syrup.
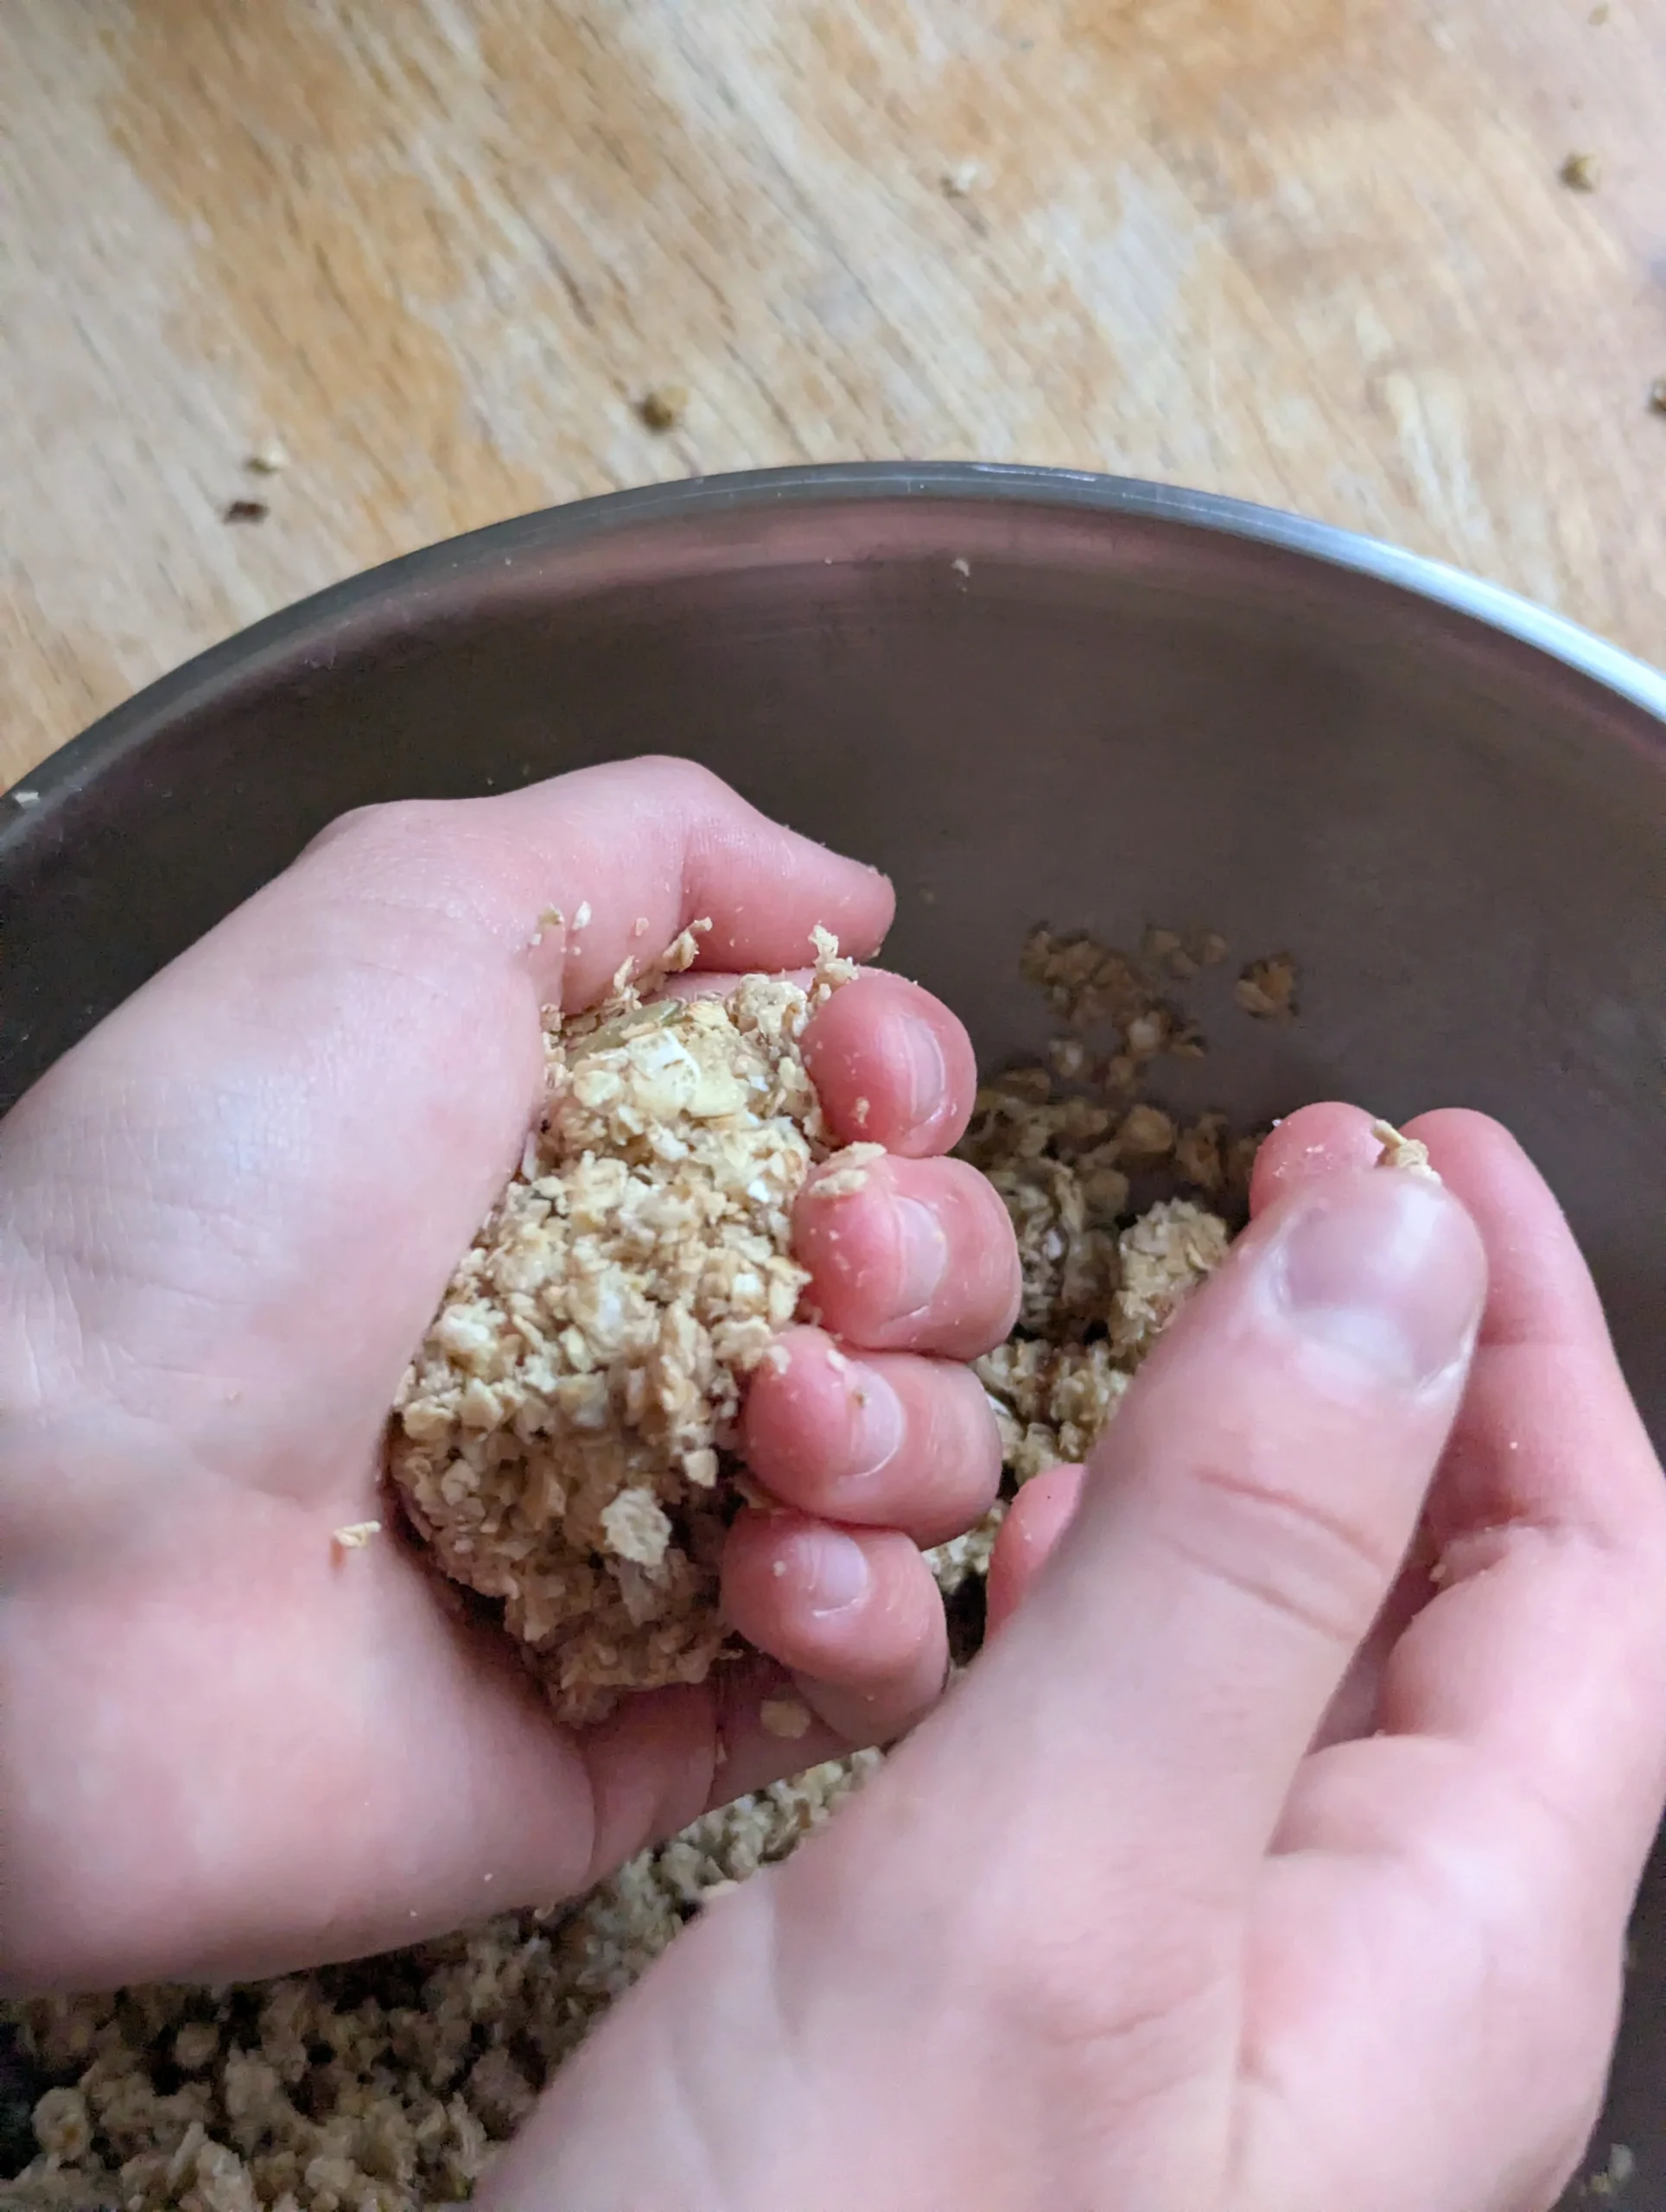
- Give it a really good mix, this bit is a workout.
- Add your chosen mix-ins and stir through.
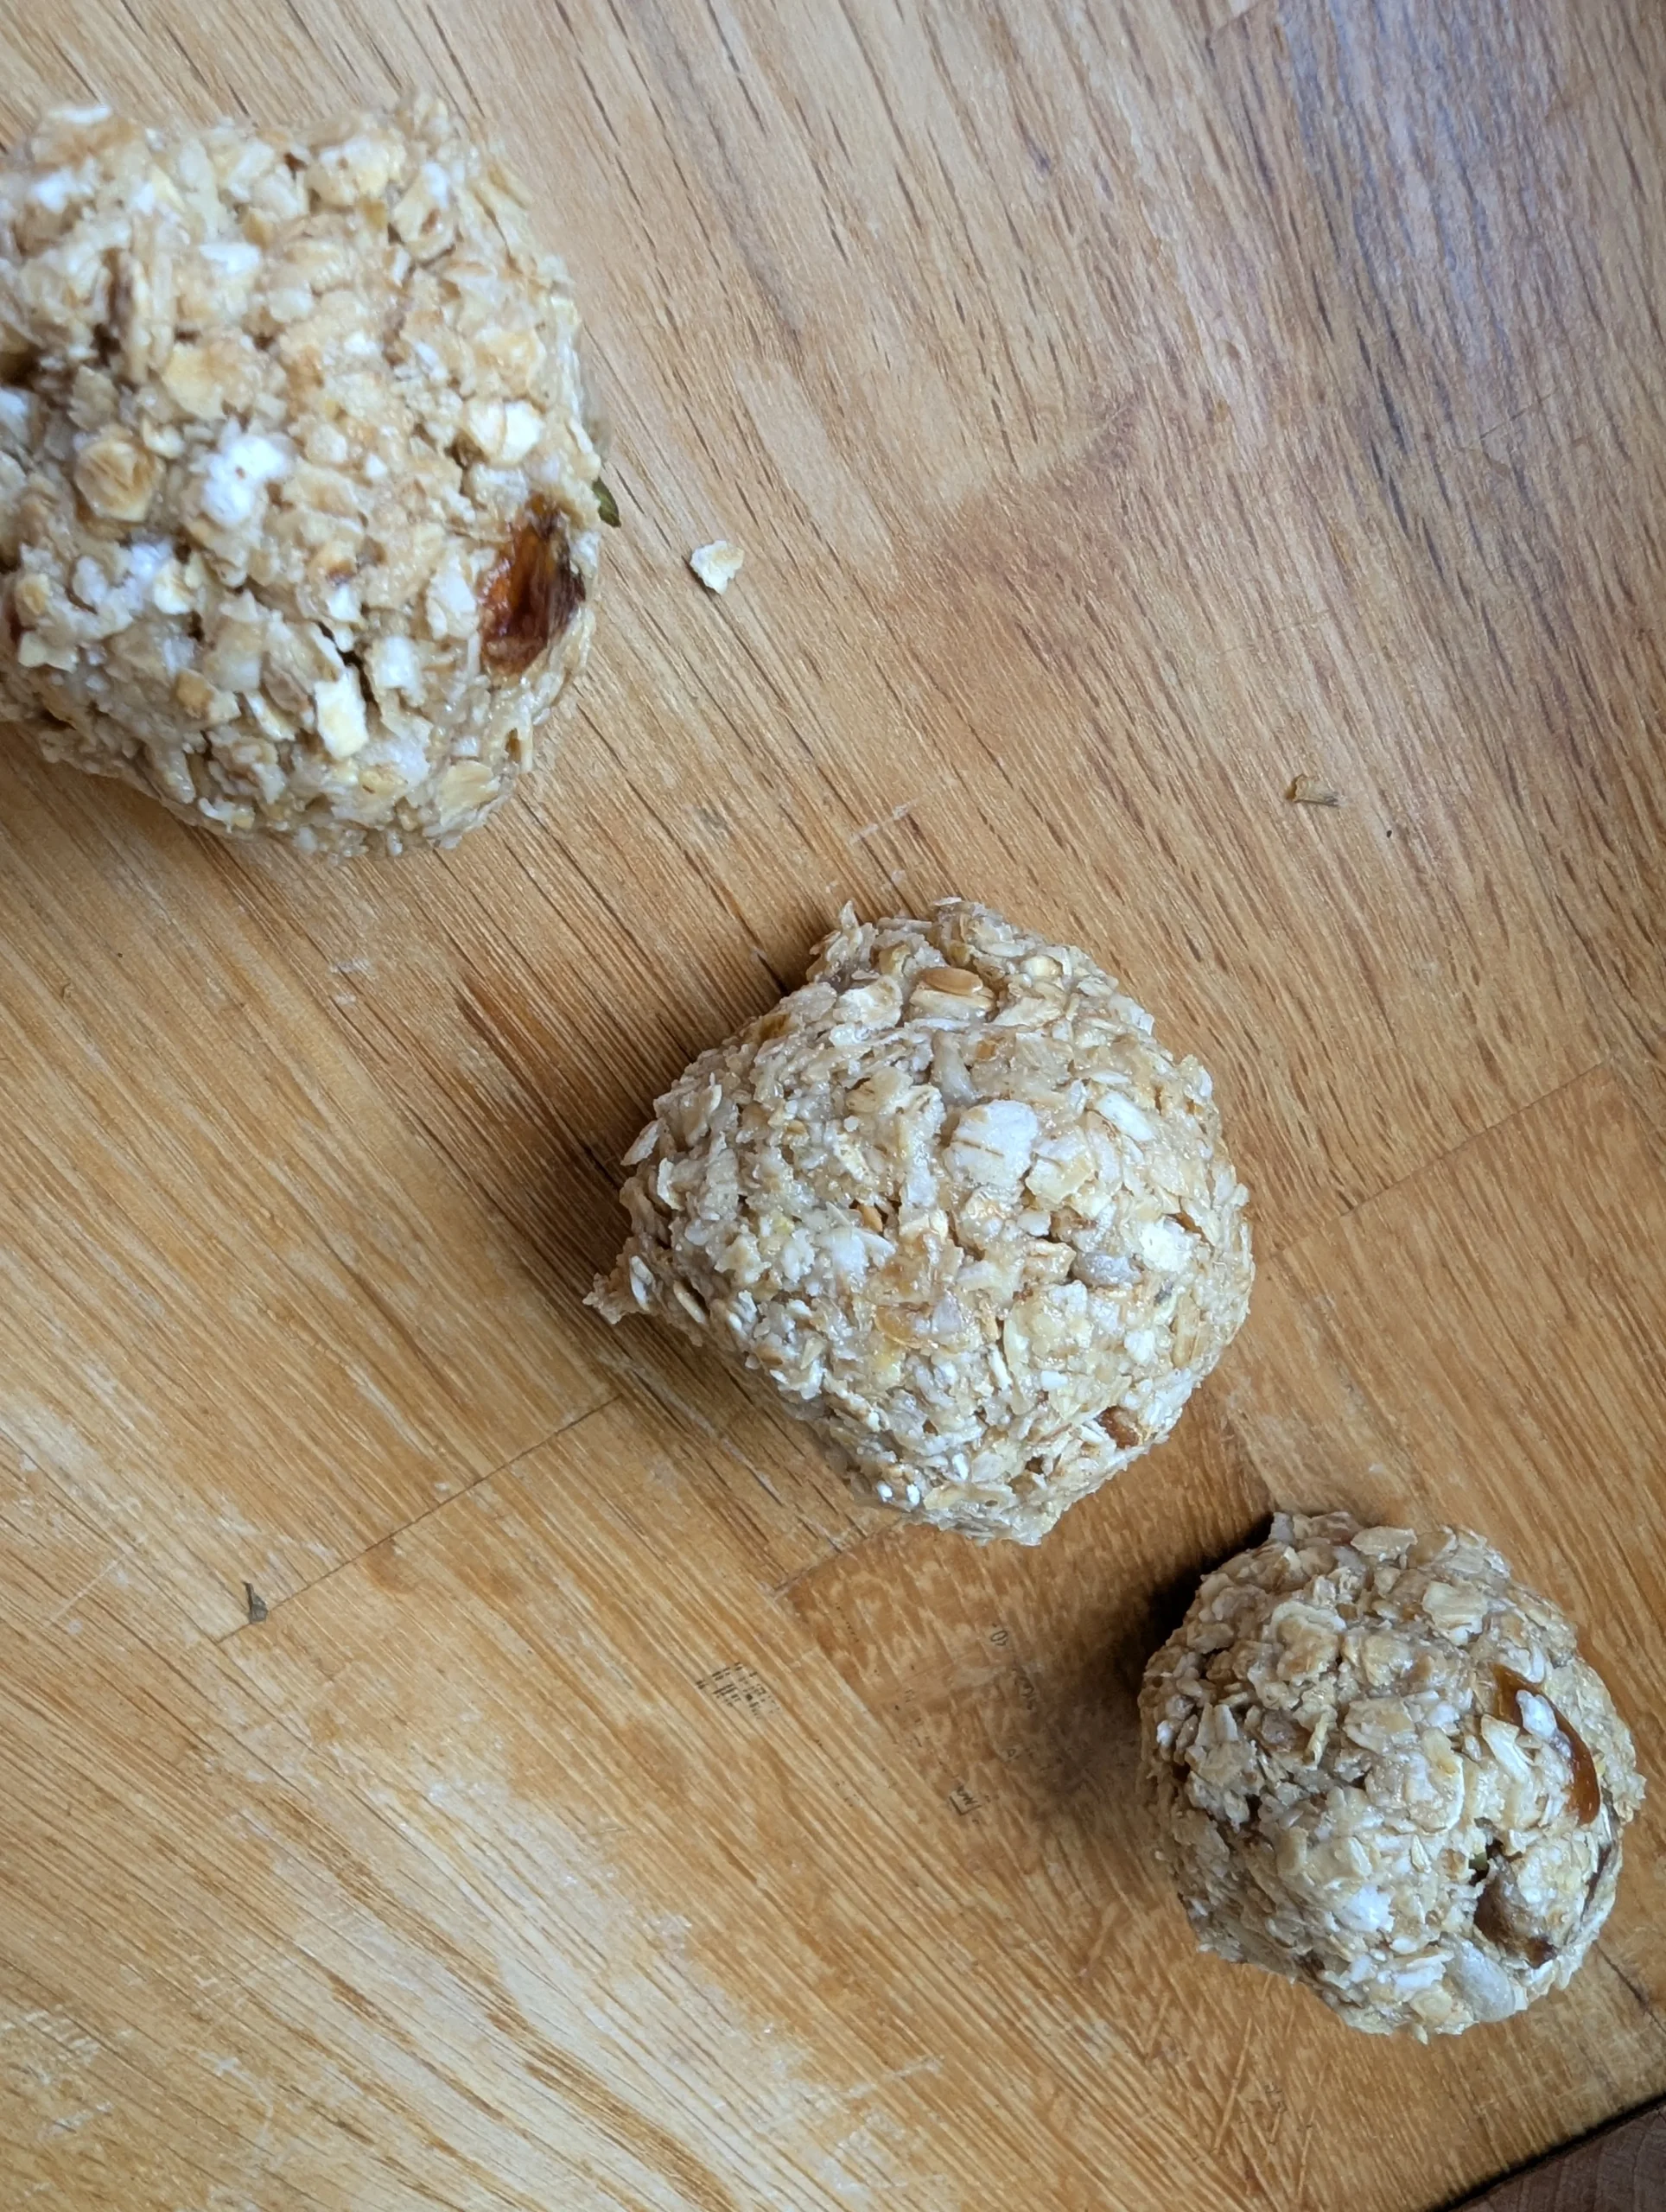
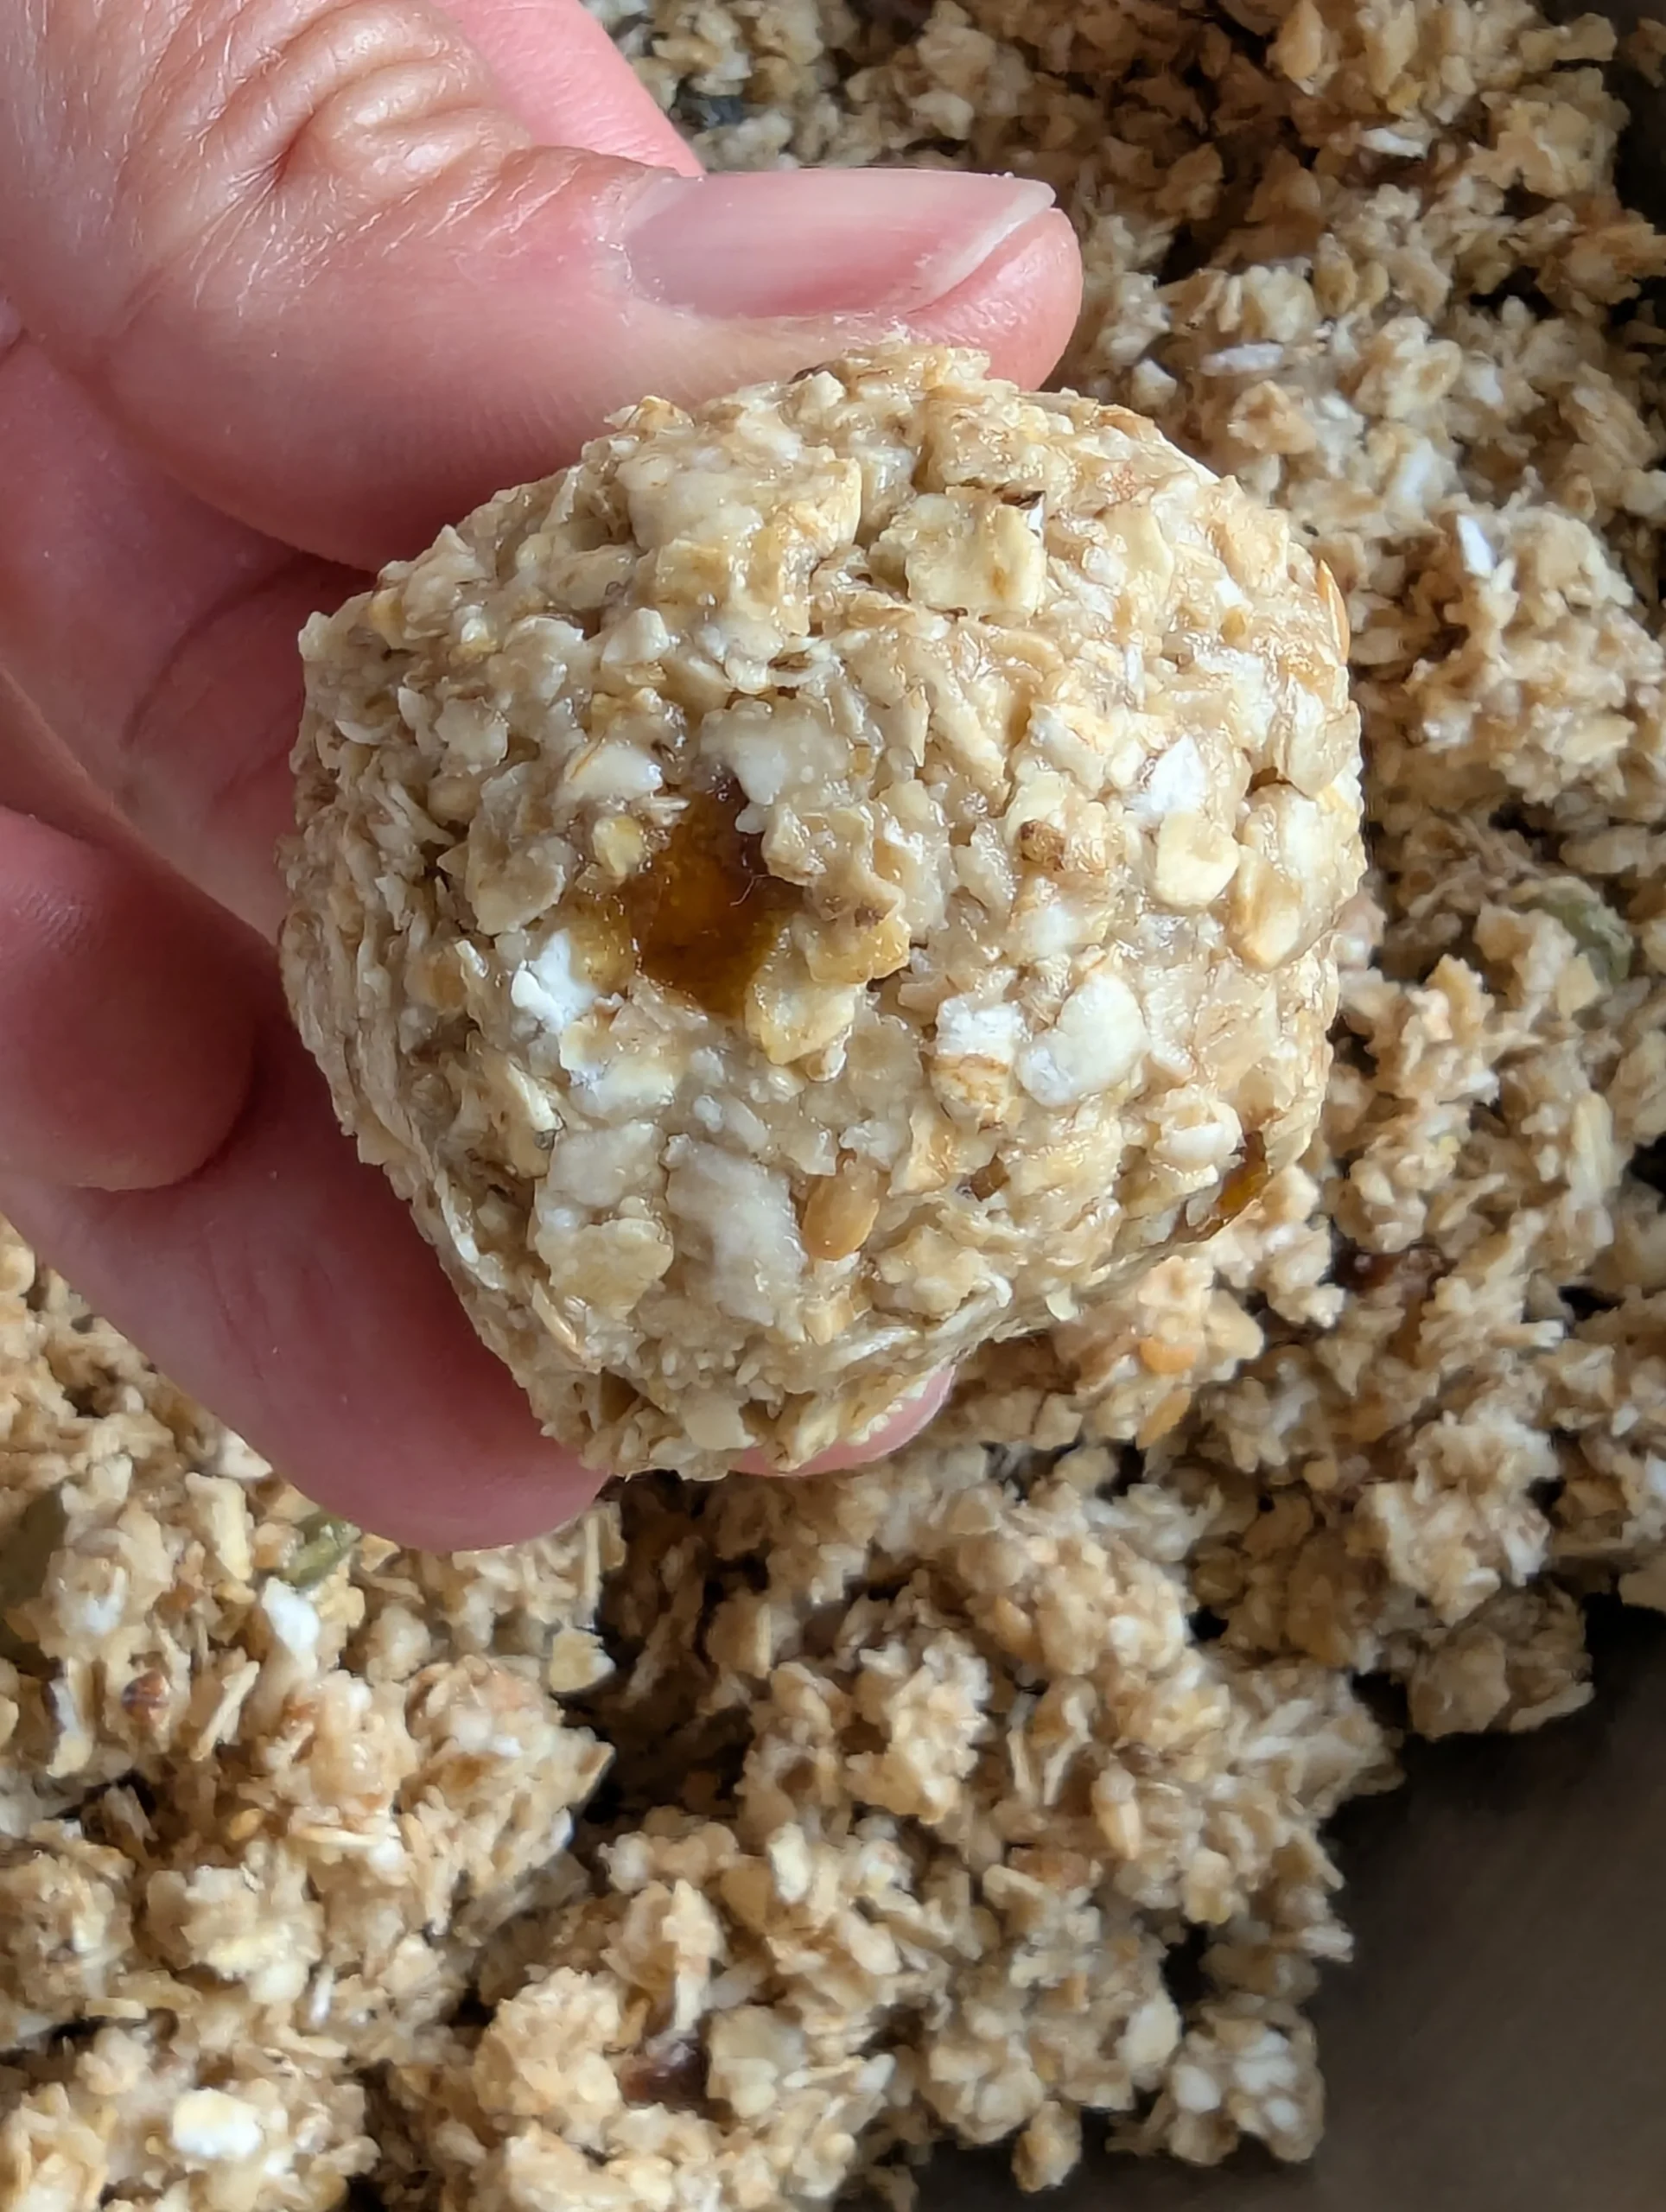
- Roll the mixture into balls of any size you fancy.
- Pop them on a tray and chill in the fridge for 30 minutes.
| Stage | What your child owns |
|---|---|
| 🌱 Explorer | Touching, smelling, looking at the oats. Watching you mix, listening to the sounds. Choosing a mix-in. Diving hands in at the end if they want to. |
| 🌟 Helper | Measuring the oats with a cup. Spooning the nut butter and the honey. Doing as much of the mixing as they can. Rolling the balls. Counting them onto the tray. |
| 👨🍳 Little Chef | Helping to read the recipe. Weighing in grams on the scales. Mixing independently. Choosing their own mix-ins and quantities. Rolling and chilling the whole tray. |
One recipe, three experiences — perfect for siblings at different stages working side by side.
Each stage in a bit more depth
Looking, touching, smelling — no pressure
The Explorer stage does what it says on the tin. Your child isn’t doing the mixing — you are. But this is a wonderful chance to slow down and really look at the ingredients together.
- The oats: touch them, smell them, look at them. Where do they come from? How do they grow?
- The nut butter: look, smell, taste a tiny bit. When you stir it, what sound does it make?
- The mix-ins: let them have a proper look. A chocolate chip next to a raisin next to a piece of shredded coconut is a lovely little sensory board in itself. Please be mindful of which mix-ins you pick if a young child, as if small they can be a choking hazard.
- The mixing: watch and listen as you stir. Squelch, scrape, plop.
- The hands-in moment: if they want to dive in at the end and feel the dough, absolutely let them.
My top tip for Explorer stage: measure everything out ahead of time. You’ll be doing the actual mixing, so have it all ready. Then talk them through every step as you go — “Gosh, this is sticky. Can you hear that squelching sound?”
Measuring, mixing, rolling
The Helper is getting stuck in properly. Not quite independent yet, but doing most of the work with you alongside.
- Measuring the oats with a measuring cup — not the scales yet. A lovely visual way to introduce amounts.
- Spooning out the nut butter and honey. Counting the tablespoons as they go.
- Mixing — this is the tricky bit. The dough is heavy and sticky. It’s a proper gross-motor workout for little arms. Try to let them push through, because that’s exactly where the strengthening happens. But if it becomes a genuine battle, step in. It’s not the end of the world.
- Rolling the balls and popping them on the tray.
- Counting them onto the tray as they go. How many did we make?
There’s lovely learning in here beyond the cooking itself. Measuring for maths. Counting the scoops of oats. Counting the balls onto the tray. Talking about the texture — is it sticky? crumbly? just right? All happening without anyone labelling it as a lesson.
Flying solo — with you on standby
At the Little Chef stage, your child is starting to read the recipe themselves. They’re getting the ingredients out of the cupboards. They’re beginning to use the scales properly — so now we’re working in grams rather than scoops.
- Reading the recipe step by step.
- Weighing using the scales. Zeroing the scales, spooning oats in carefully, reading the display.
- Mixing independently — they’ve got the strength and the technique now.
- Making creative decisions: “Let’s add cinnamon this time.” “I want to try cocoa powder in half of them.” “What if we roll some smaller ones for lunchboxes?”
- Managing the tray and the timer. Setting a timer for the chill. Knowing when the 30 minutes is up.
That’s confidence growing in real time. Encourage it as much as you can. You’re still there — around, chatting, asking questions, cheering them on — but you’re trying to leave them as independent as possible. Just be nearby, just in case.
The common wobble (and how to fix it)
This recipe is very simple. But when cooking with children, things don’t always go to plan. Sometimes the mixture just won’t stick together, and you’re standing there thinking, why is this not happening?
It’s usually one of two things. And both are easy to fix.
It might be the weather, honestly. On a hot day, your nut butter is softer than it would be normally, and that can change everything.
🔧 Quick fixes
Too dry, won’t come together? Add a small amount more of your nut butter. Just a little at a time — don’t go crazy, or you’ll end up the other way.
Too sticky? Add a few more oats. Not loads, just a tablespoon or so and keep tweaking gently until the texture is what you want.
Won’t roll? Pop the bowl in the fridge for 10 minutes to firm up, then try again.
The really important bit isn’t the fix, though. It’s what we show our children in that moment.
I’ve absolutely been in the kitchen where it’s not sticking, so we add more nut butter, then it’s too sticky, so we add more oats, then it’s too dry again, and, oh gosh, we’re going to have enough energy balls to feed the whole street at this rate.
It can get frustrating. There will be times when you’re not going to keep calm, or your child isn’t going to keep calm. That’s fine. We’re only human. We’re not robots. If that happens, just stop. Step away. Do something else for a bit. Come back to it later, or another time. It’ll still be there.
Storage and lunchbox tips
Once you’ve made your beautiful, varying-sized energy balls, pop them in a container in the fridge. They’ll keep for about a week. If they last a week, well done. In our house they tend to go very, very quickly, so you probably won’t have an issue.
You can also freeze them, which is brilliant if you’ve made a big batch. Thaw them out when needed, and they’re as good as new. They also make lovely little additions to a lunchbox, so your child can take a few to school.
⚠️ A quick lunchbox note
If you’ve used nut butter, please check your school’s nut policy before packing them. A lot of schools are nut-free — and if yours is, swap to sunflower seed butter or tahini for the lunchbox batch.
What your child will have learned
Goodness me, even from this very simple recipe, depending on where they’re at, your child will have covered so much:
- Maths — measuring with cups or weighing with scales
- Worked on gross motor strength (mixing the heavy, sticky dough)
- Practised fine motor skills (rolling, shaping, placing)
- Made a proper decision about their own flavour
- Understood timing (the 30-minute chill in the fridge)
- Experienced science in action — how ingredients change when mixed, why temperature matters for nut butter
- Used descriptive language — sticky, crumbly, squelchy, just right
- Eaten something they made themselves
Not bad for one bowl, four ingredients, and a rainy afternoon.
Frequently asked questions
Can I make these without nuts?
Absolutely. Swap the nut butter for sunflower seed butter or tahini — both work beautifully and have a similar consistency. This is the version I’d use if you’re packing them for a nut-free school lunchbox.
How long do they keep?
About a week in the fridge in a sealed container. They also freeze brilliantly — pop them in a freezer bag and thaw when needed. Honestly though, in most houses they don’t last that long.
My mixture won’t stick together — what do I do?
Add a little more nut butter, a small amount at a time. It usually means the dough is too dry. If it goes the other way and gets too sticky, add a tablespoon more oats. Keep tweaking gently until the texture feels right.
Are these suitable for toddlers?
Yes — but please be mindful of the mix-ins. Whole nuts, large chocolate chips and dried fruit can be a choking hazard for very young children, so chop or swap accordingly. Also check that any nut butters you use are smooth, not crunchy. As always, you know your child best.
Can I make these vegan?
Yes. Use maple syrup instead of honey, and choose dairy-free chocolate chips if you’re including them. The recipe works exactly the same.
Do I need a food processor?
Not at all. This is a one-bowl, one-spoon recipe. The whole point is that it’s accessible, even on a rainy afternoon when you don’t fancy washing up loads of equipment.
My child won’t touch the sticky mixture — does that ruin it?
Not in the slightest. Use spoons throughout — for mixing, scooping and shaping. You can shape the mixture by pressing two spoons together to form rough rounds. Some children genuinely don’t enjoy sticky textures and that’s completely fine. The recipe still counts.
Can we use porridge oats or do they need to be rolled oats?
Either works. Rolled oats give a slightly chunkier texture, while porridge oats (the finer ones) make a smoother, softer ball. Use whatever you’ve got in the cupboard.
Keep Reading
Enjoyed This Recipe?
Browse more on our blog or sign up for our newsletter to get new recipes delivered straight to your inbox!
Back to Blog →